The practical has been tailored to QGIS 2.12, this may be different to the version you may be using and therefore may look different, but the concepts and tasks will be similar (though the tasks may need to be done in a different way).
Familiarising Yourself with QGIS
-Download the files for the practical: Practical_1_data.zip. Unzip the files, and store them in a location of your choice.
-Download the latest version of QGIS from QGIS.org and install it on your personal machine (Note: please do not do this if you are using a lab or public machine unless you have already been given permission to do so)
-Open QGIS Desktop and familiarise yourself with the interface (Note: your interface may look different, if you have already customised it).
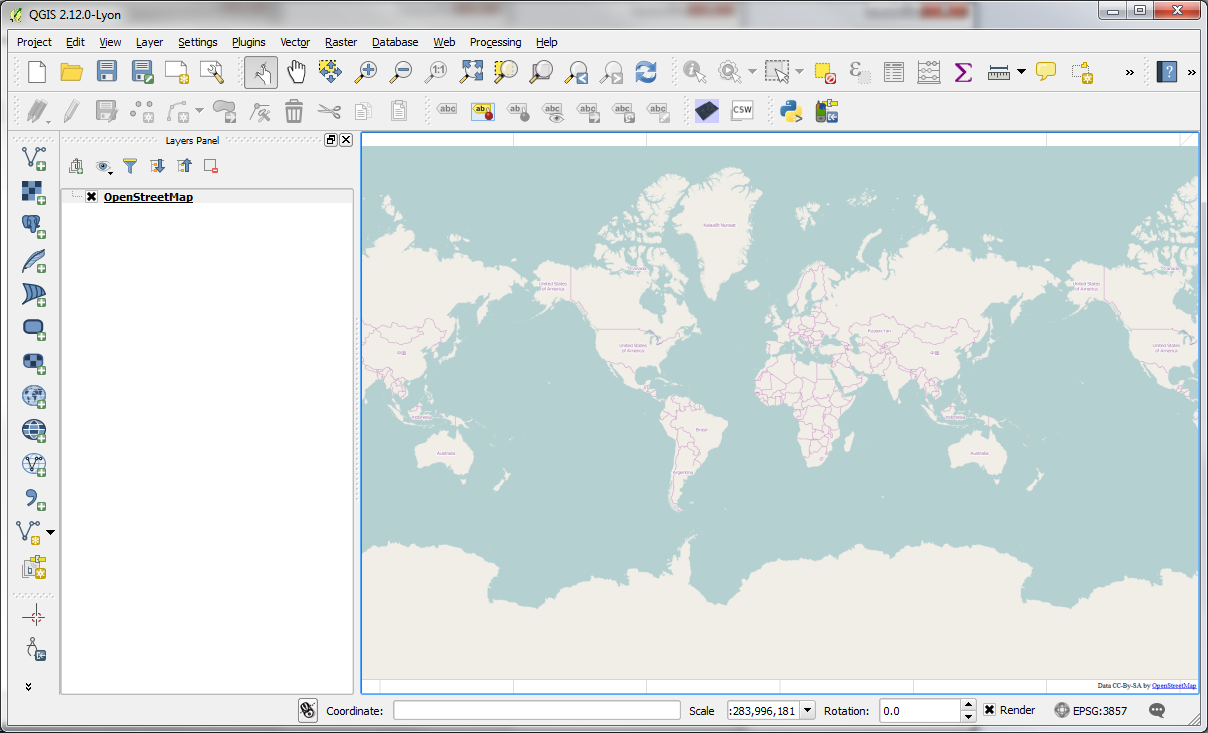
The QGIS user interface is divided into five major areas:
1. Menu Bar – At the top of the interface (e.g. Project, Edit, View, etc.).
2. Tool Bar – Just below the Menu Bar with QGIS Tools (e.g. Save, Pan Map, Zoom In/Out, etc.).
3. Editor Tool Bar – Just below the Tool Bar with QGIS Tools necessary for editing and labelling features.
4. Add Data Bar – On the left side of the interface that allows you to quickly add layers of data (e.g. Add Vector, Add, Raster, etc.)
5. Layers Panel – Panel on the left that shows all the layers that are loaded into the map.
6. Map Panel – Panel on the right that shows the map and visible layers.
7. Status Bar – at the bottom of the interface that shows current coordinate of mouse, scale, coordinate reference system, etc.
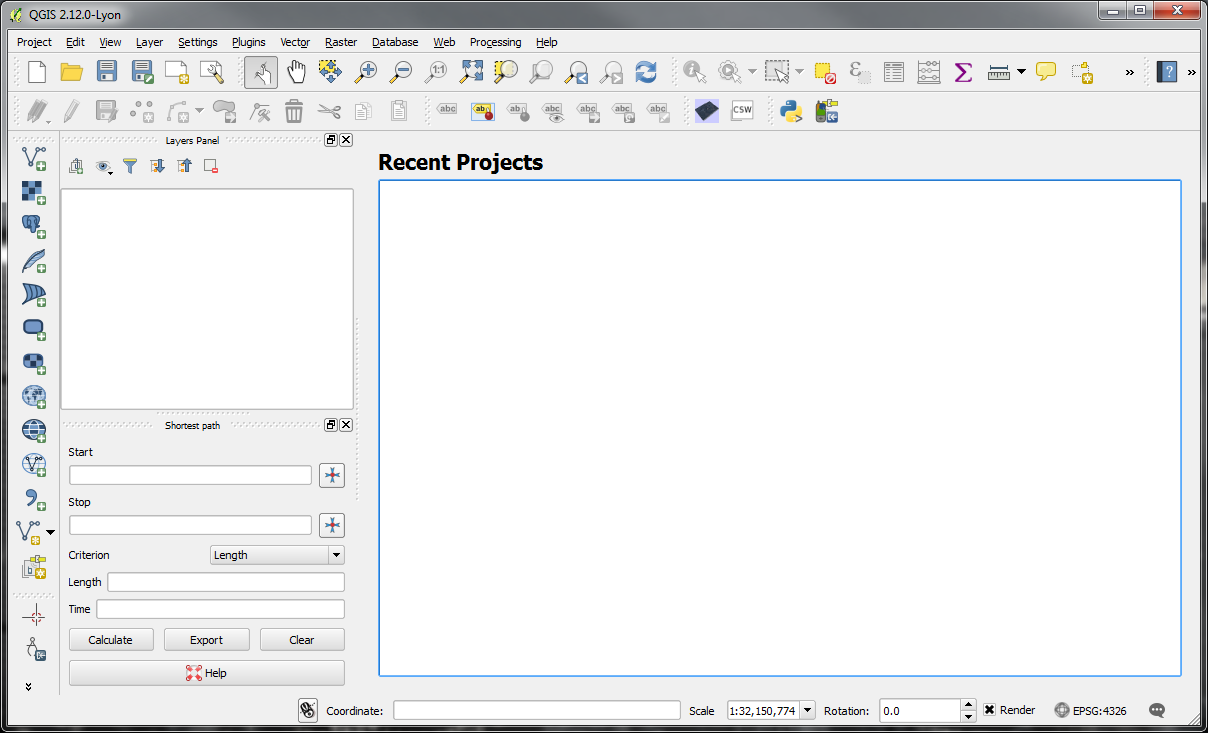
(Note: Initially, you may see other panels/toolbars, but these are the most relevant ones to the work we’re doing. Any ones you don’t need [e.g. Shortest path panel] may be removed by clicking the X at the top of the panel)
(Note: To see a video tutorial on QGIS interface, please refer to QGIS 1 Introduction. The tutorial is for an older version of QGIS, but the same principles apply.)
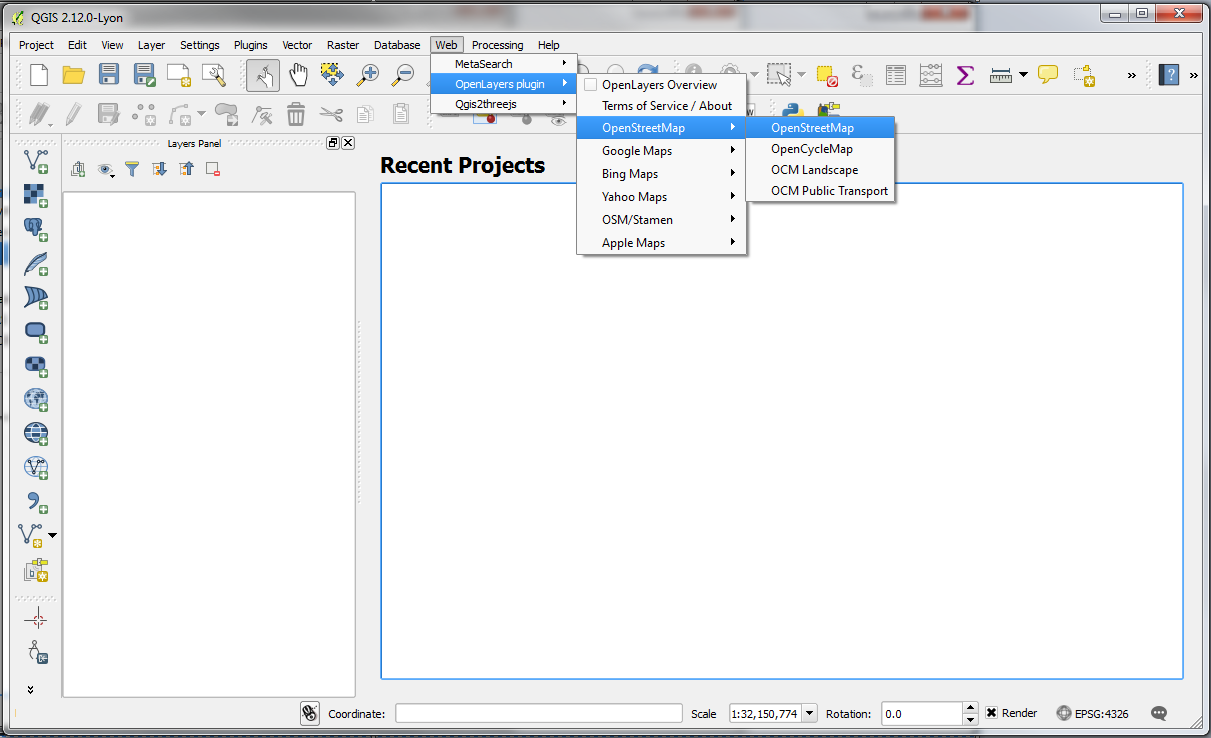
-To add a Basemap of information, which may be used to give locational context to the data you add, select Web (from the Menu Bar) > OpenLayers plugin > OpenStreetMap > OpenStreetMap to add the OpenStreetMap Basemap to the map
-Explore the Basemap using the Map Navigation to understand the Map Layers