Georeferencing a Raster
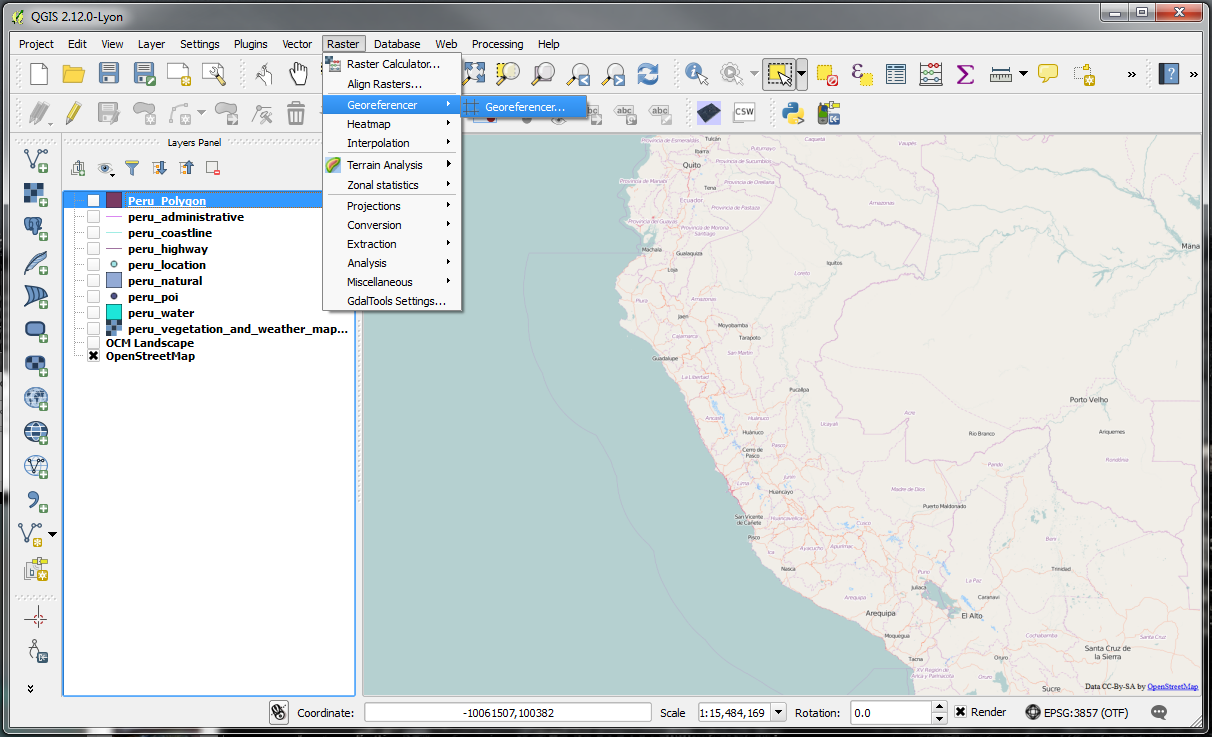
-Choose Raster (from the Menu Bar) > Georeferencer
(Note: To find out more about georeferencing, please refer to Quick and Dirty: Georeference a map in QGIS and Georeferencing Basics)
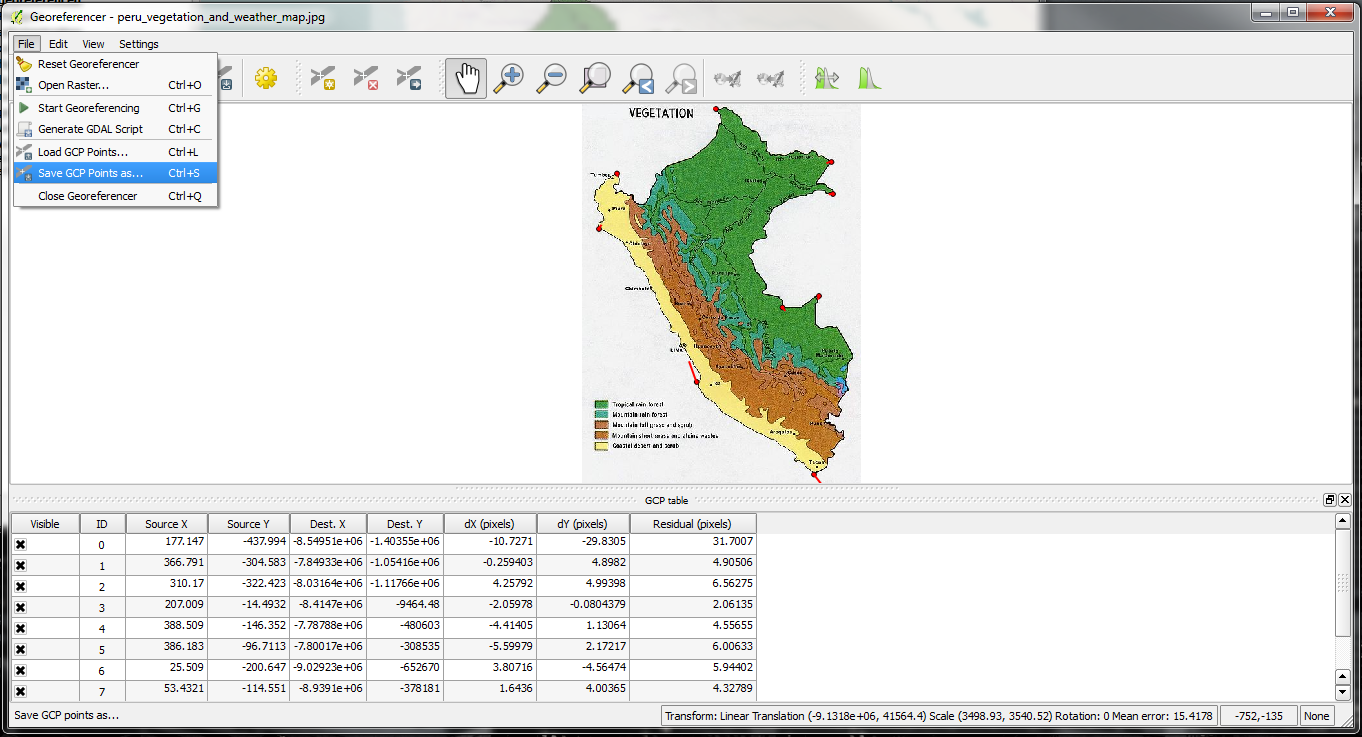
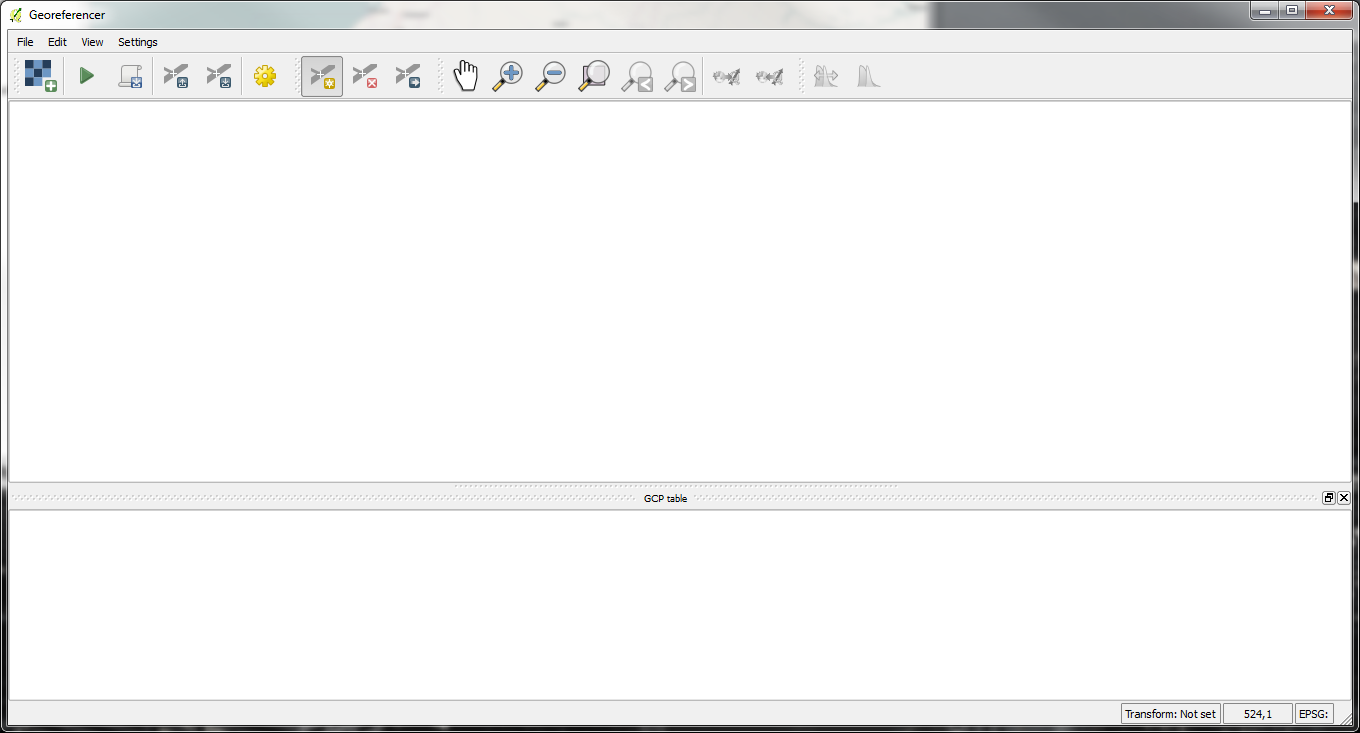
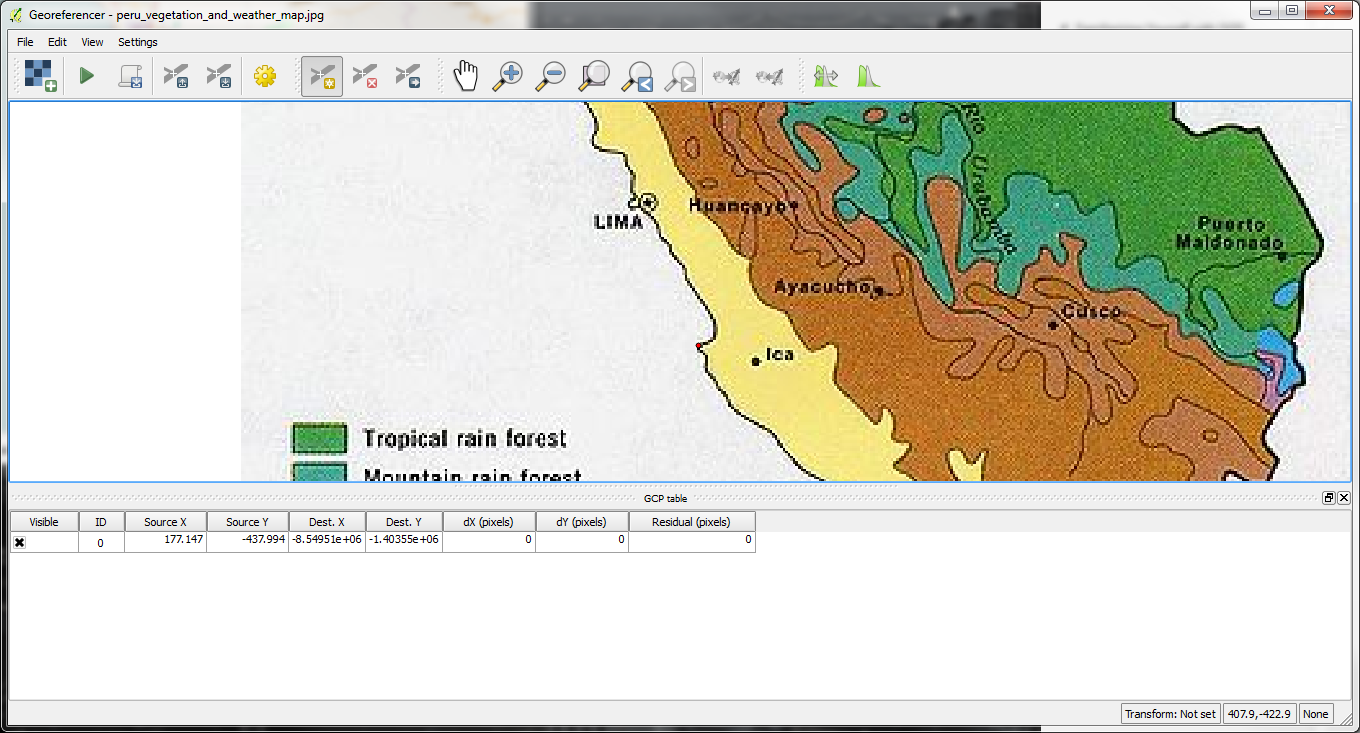
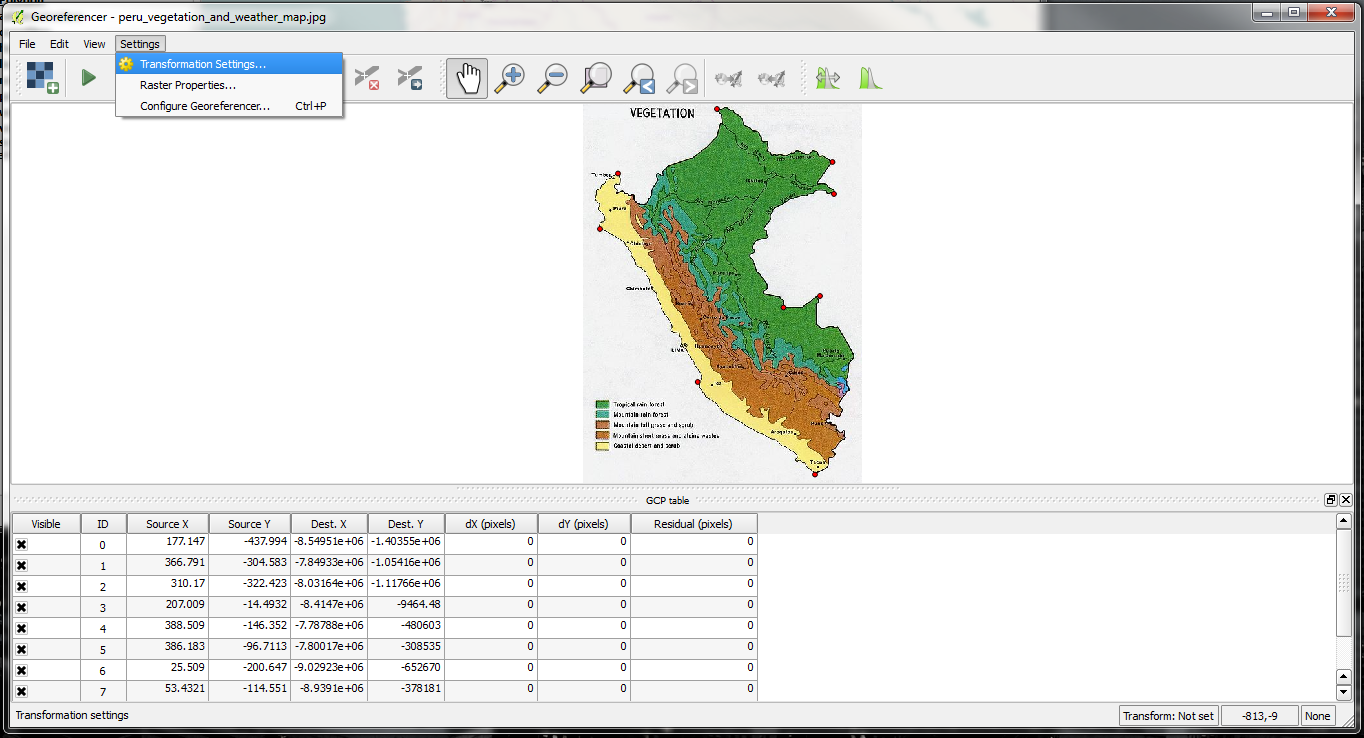
-A new window will open that is divided into 2 sections. The top section where the raster will be displayed and the bottom section where a table showing your Ground Control Points (GCP), used for georeferencing, will appear. If you wish, you may drag the GCP window and separate it from the top section. Now click on the ‘Open Raster’ button on top-left corner.
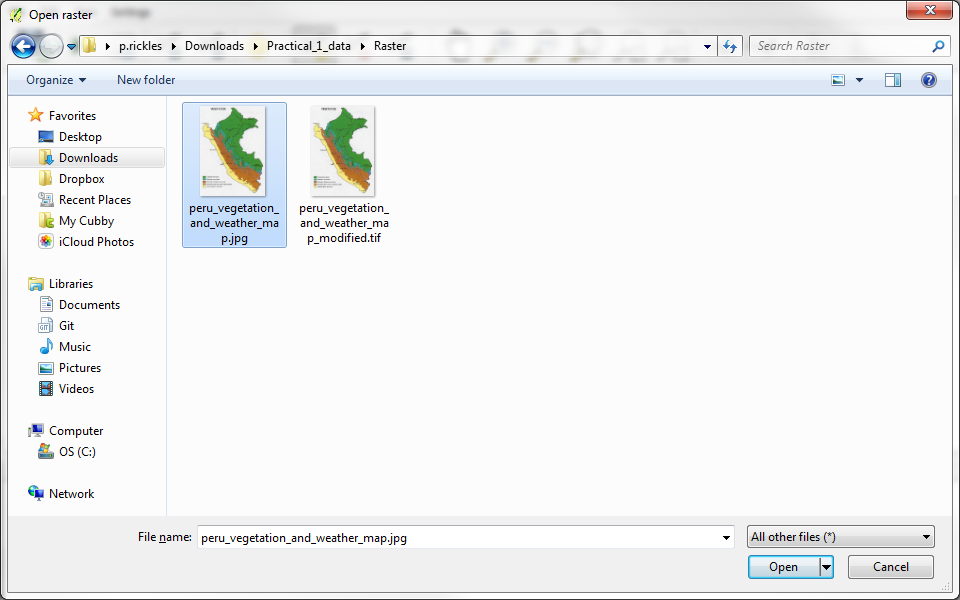
-Browse to the location where you downloaded the stored the files downloaded from Moodle, find the JPG image of the scanned map and click Open /Raster/peru_vegetation_and_weather_map.jpg.
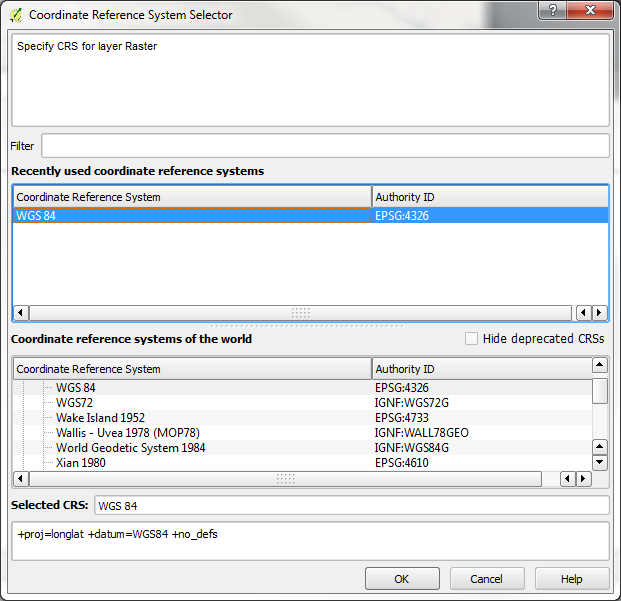
-In the next screen, you will be asked to choose the raster’s Coordinate Reference System (CRS). This is the projection of your control points. If you are geo-referencing a scanned map or a downloaded image, choose WGS84 (World Geographic System).
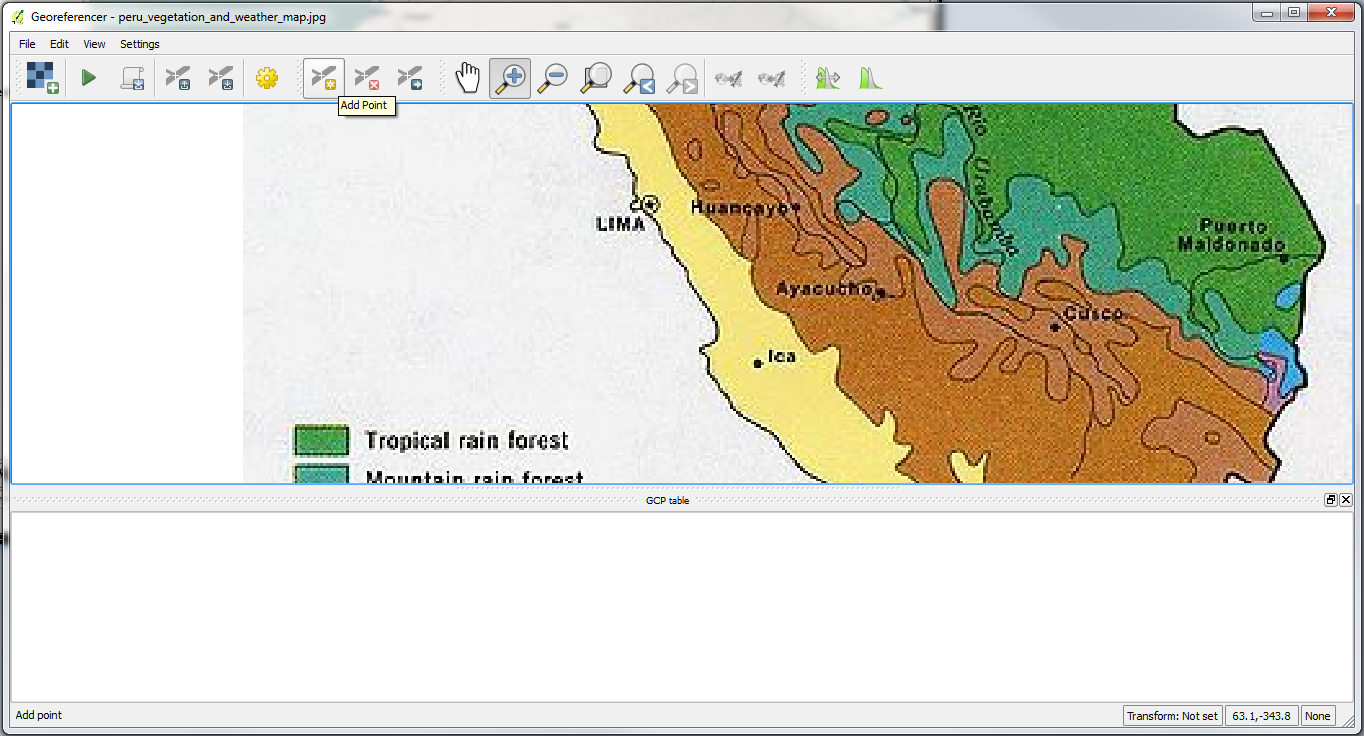
-Next, you will see the image will be loaded on the top section. You can use the zoom/pan controls in the toolbar to learn more about the map.

-To assign coordinates, click on ‘Add Point’ button and select points of visual reference from the image by clicking on a recognisable features from the image that will be on the map (e.g. the small bit of the coastline jutting out South of Lima).
(Note: You may wish to Pan or Zoom In/Out to better see the features of the image to increase the accuracy of the GCP)
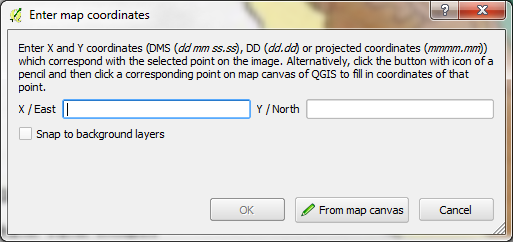
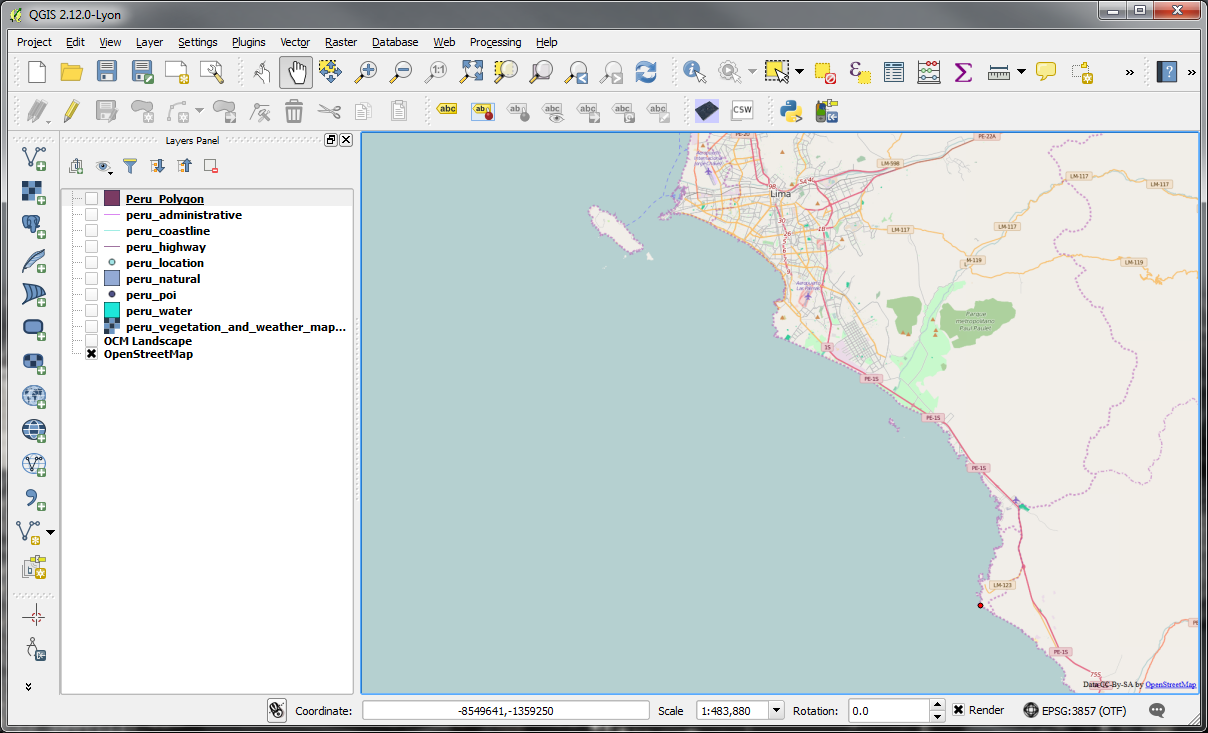
-In the pop-up window, enter the coordinates by clicking the From map canvas button – this is to visually reference the image with the basemap from OpenLayers.

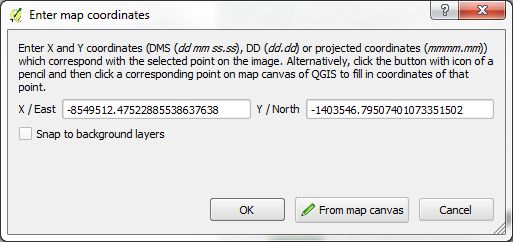
-Select the same point on the canvas (e.g. the small bit of the coastline jutting out South of Lima) and then click OK in the coordinates window.
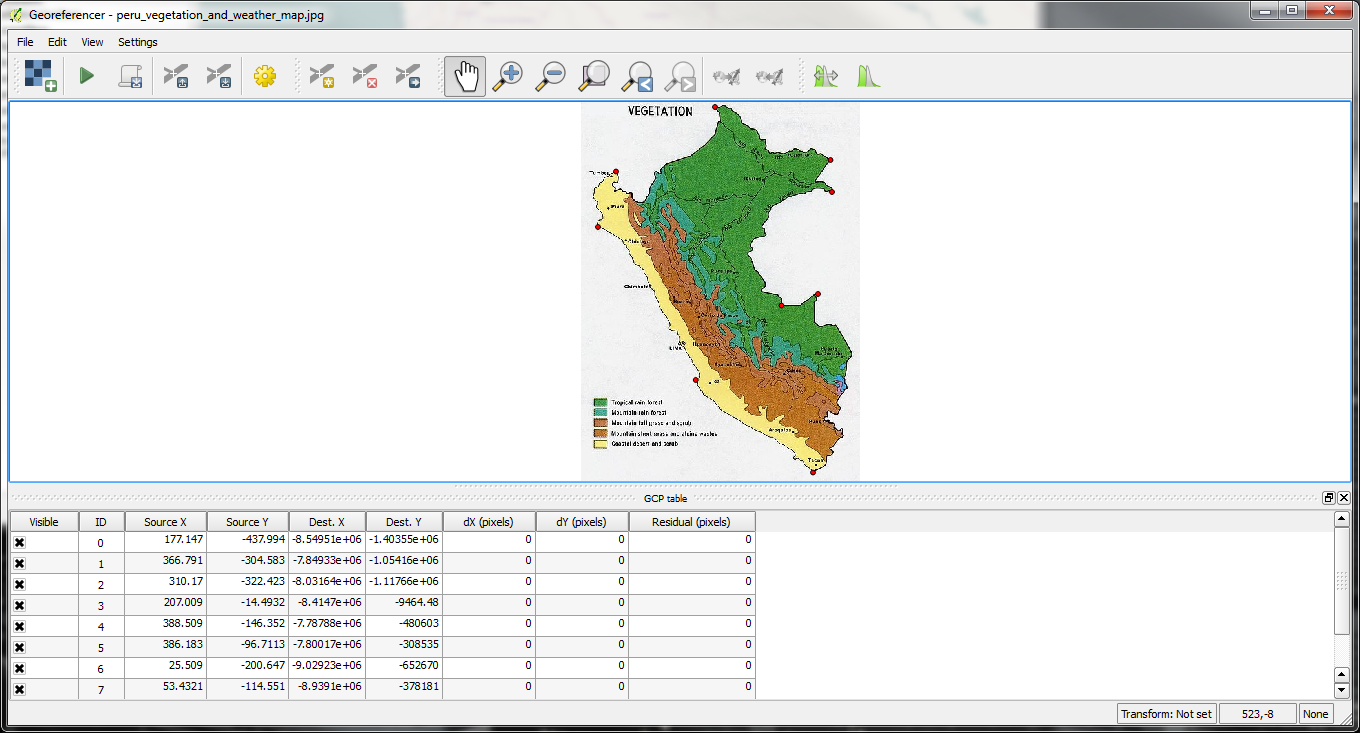
-This will create a geo-referenced point in the Georeferencer window. You will notice the GCP table now has a row with details of your first control point.
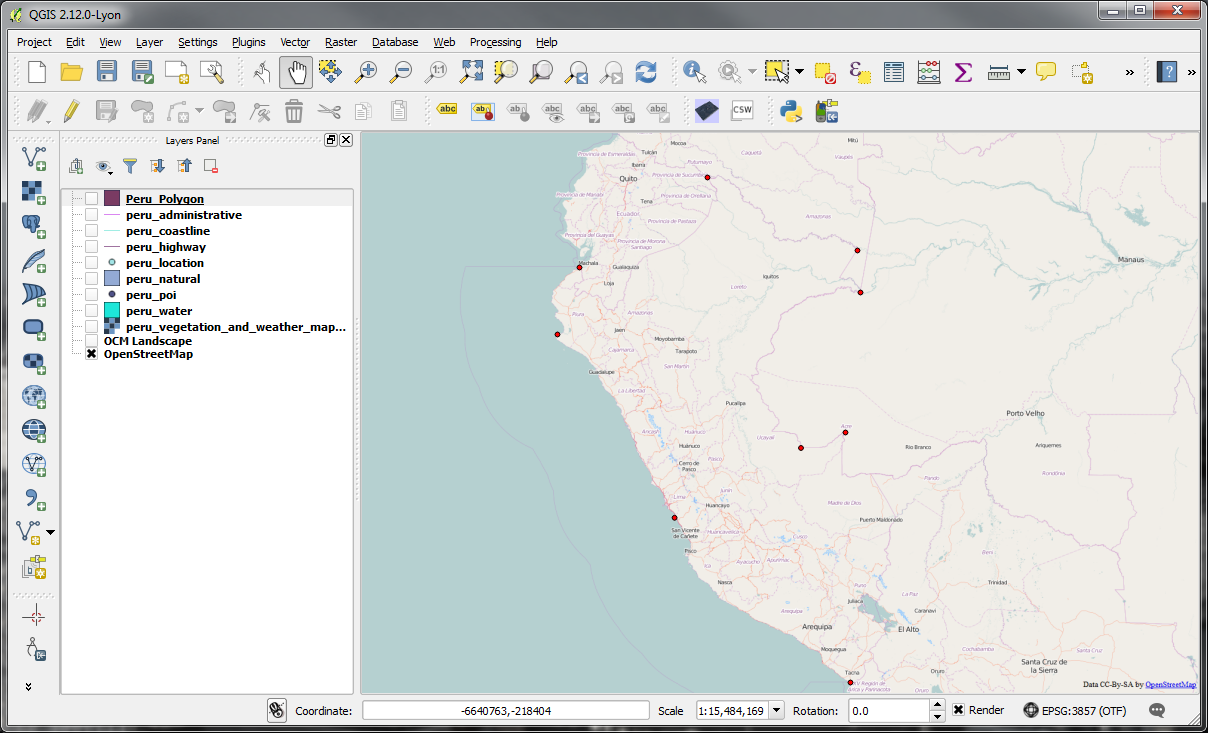
-Similarly, now choose more control points from the new raster image and georeference them picking the relevant point from the canvas. The more points you have, the more accurate the georeferencing will be. Should you wish to remove any points from the list, right click the row and select “Remove”.
(Note: If you use navigation tools to zoom in the canvas when selecting the points, you’ll need to go back to the Georeferencer window and click “From map canvas” again.)
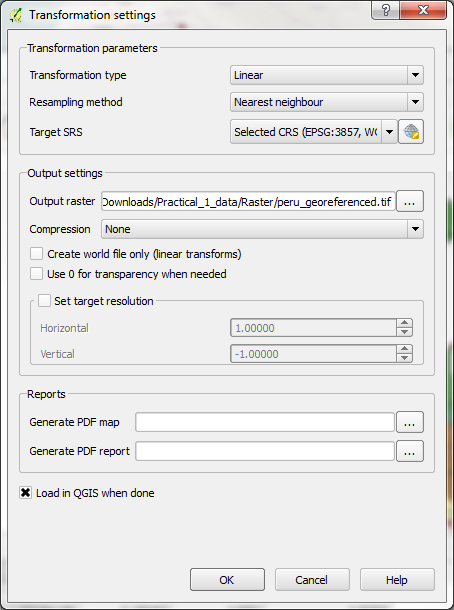
-Once you are done, click on Settings > Transformation Settings. In the Transformation settings dialog, you will have to choose multiple parameters. Give the output raster a name and set out ‘Target SRS’ as WGS84/Pseudo Mercator (EPSG:3857), so the resulting georeferenced image file will have a CRS of WGS84/Pseudo Mercator (EPSG:3857). Make sure you check the ‘Load in QGIS when done’ button at the bottom. Click OK.

-Now click the ‘Start georeferencing’ button from the toolbar.
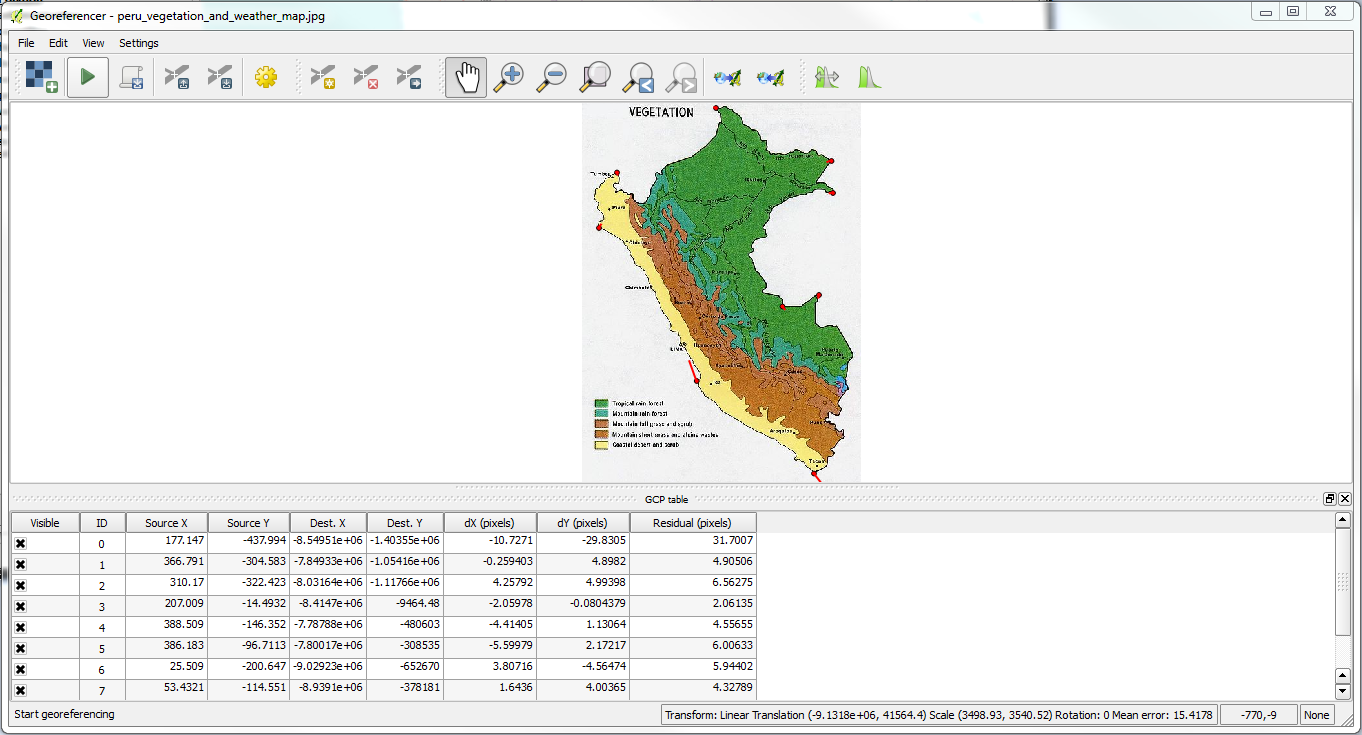
-Once the process is complete, you will see the georeferenced raster image loaded in your QGIS canvas. To check if the georeferencing is accurate make the new layer semi-transparent (right-click the layer and select Properties> Transparency) to see how it overlays on the Basemap. If the image is far off, you can add more GCP or remove inaccurate ones to improve how it overlays; however, please note that it will never be exact – close enough, especially in your area of analysis, is acceptable.

-Once finished, you can save your GCPs by selecting the option from the Georeferencer’s file menu and then select Close Georeferencer to close the Georeferencer.