Create Vector Data
-To create a new shapefile, select Layer (from the Menu Bar) > Create Layer > New Shapefile Layer
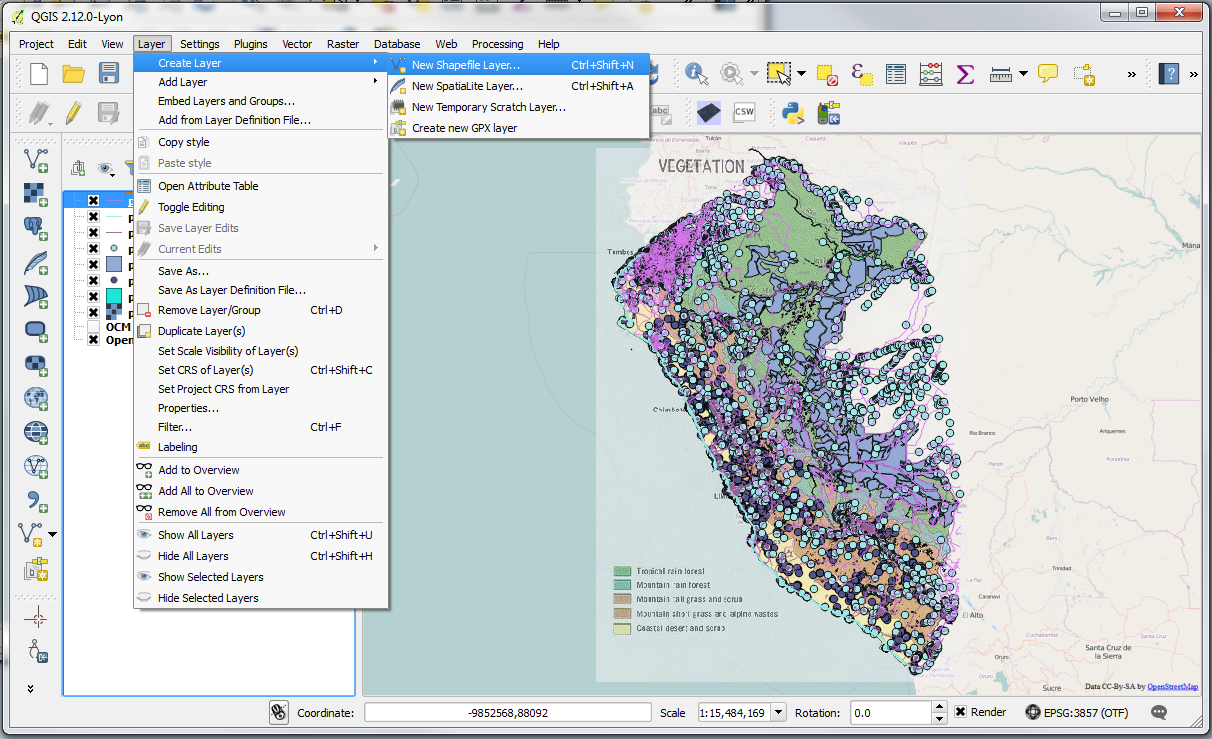
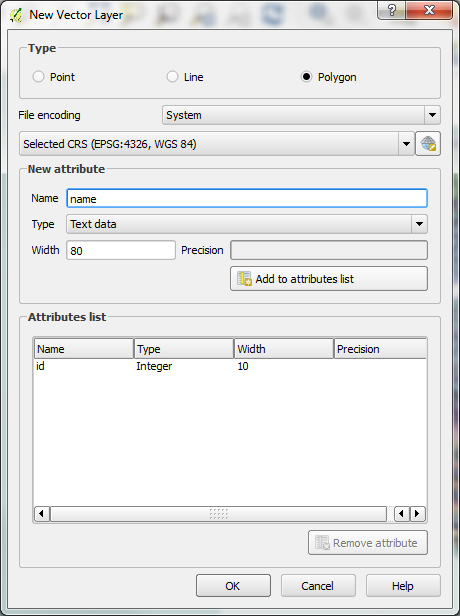
-This opens a window where you can choose the type of shape file you want to create; a point, polyline (line) or polygon (area):
• Choose polygon
• Specify EPSG:4326, WGS 84 coordinate system in the CRS field (if necessary)
• Add an attribute called name (that is Text data) by inputting “name” in the Name field and click Add to attributes list button to add it
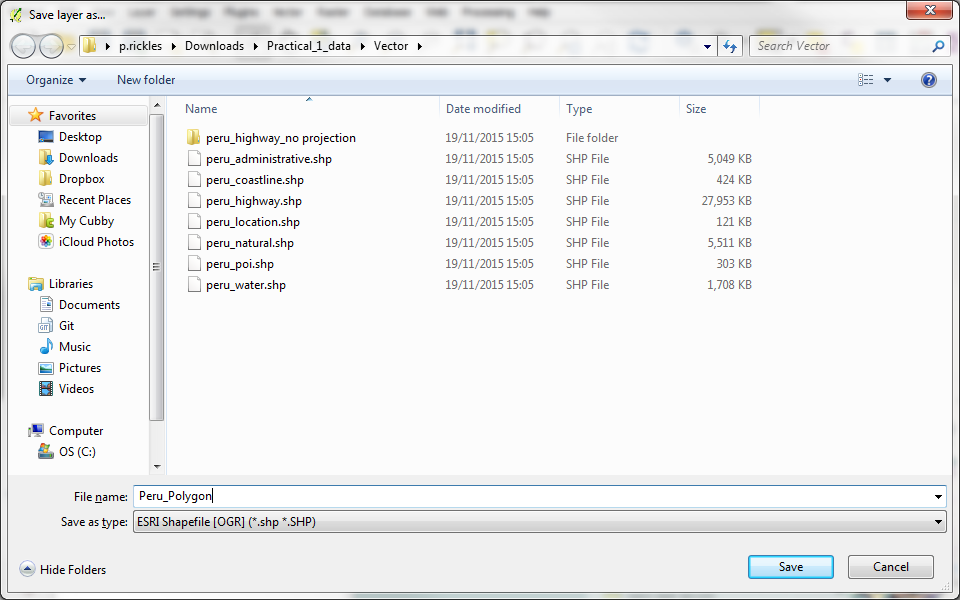
• Press OK and save as “Peru_Polygon” in an appropriate folder
-The new shapefile you created is now loaded as a new layer to the workspace before you can start drawing in it:
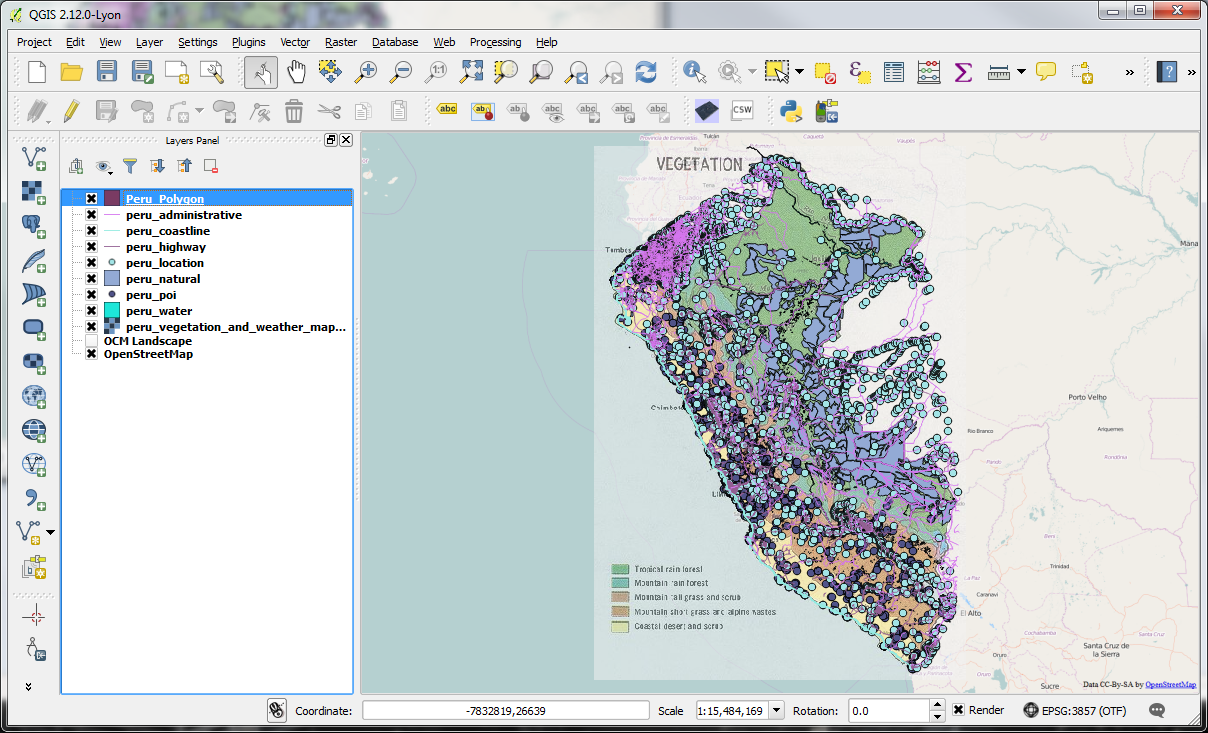
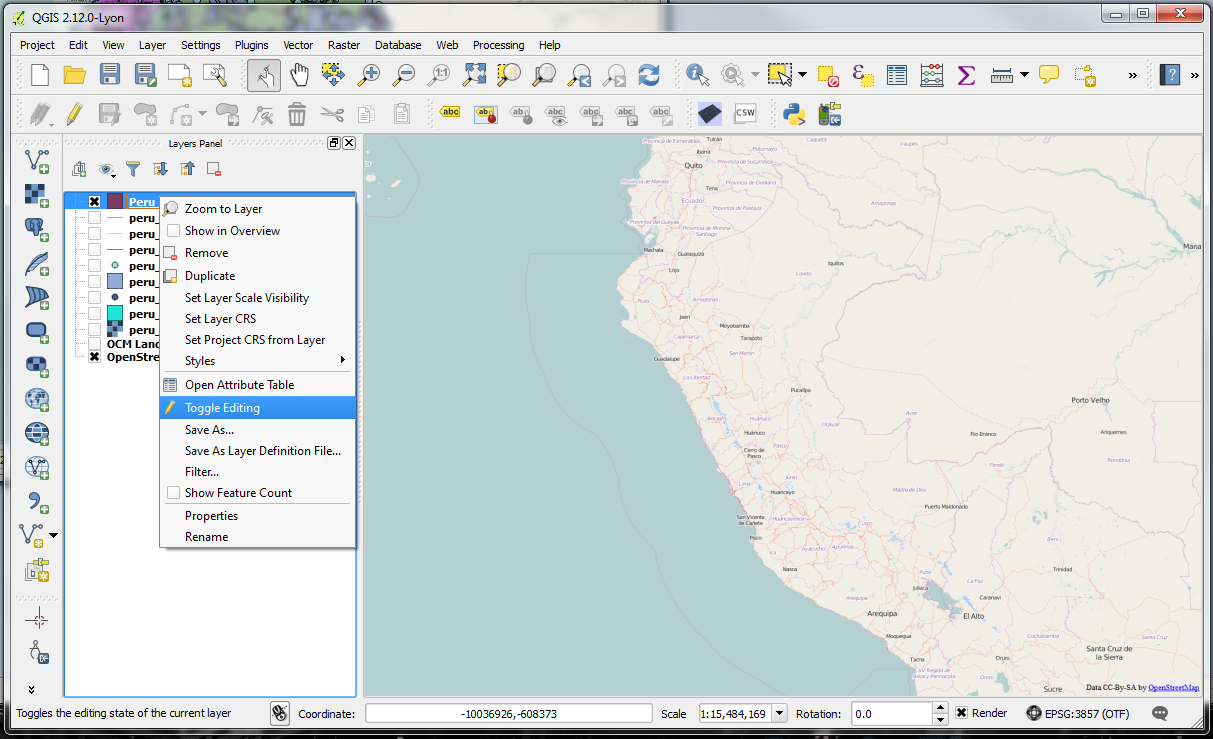
-Turn off all other layers (except for OpenStreetMap) and leave only the Peru_Polygon layer on. You can now edit this layer by right clicking the layer and selecting ‘toggle editing’.
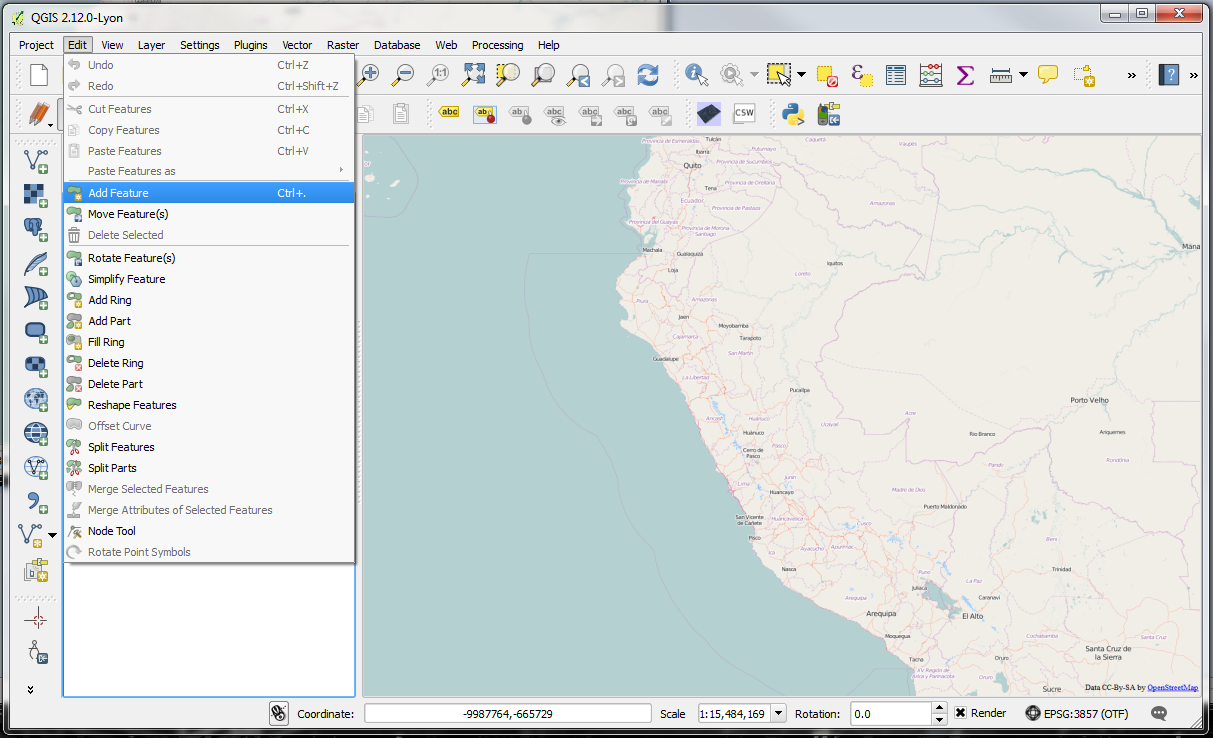
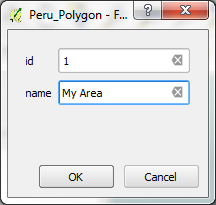
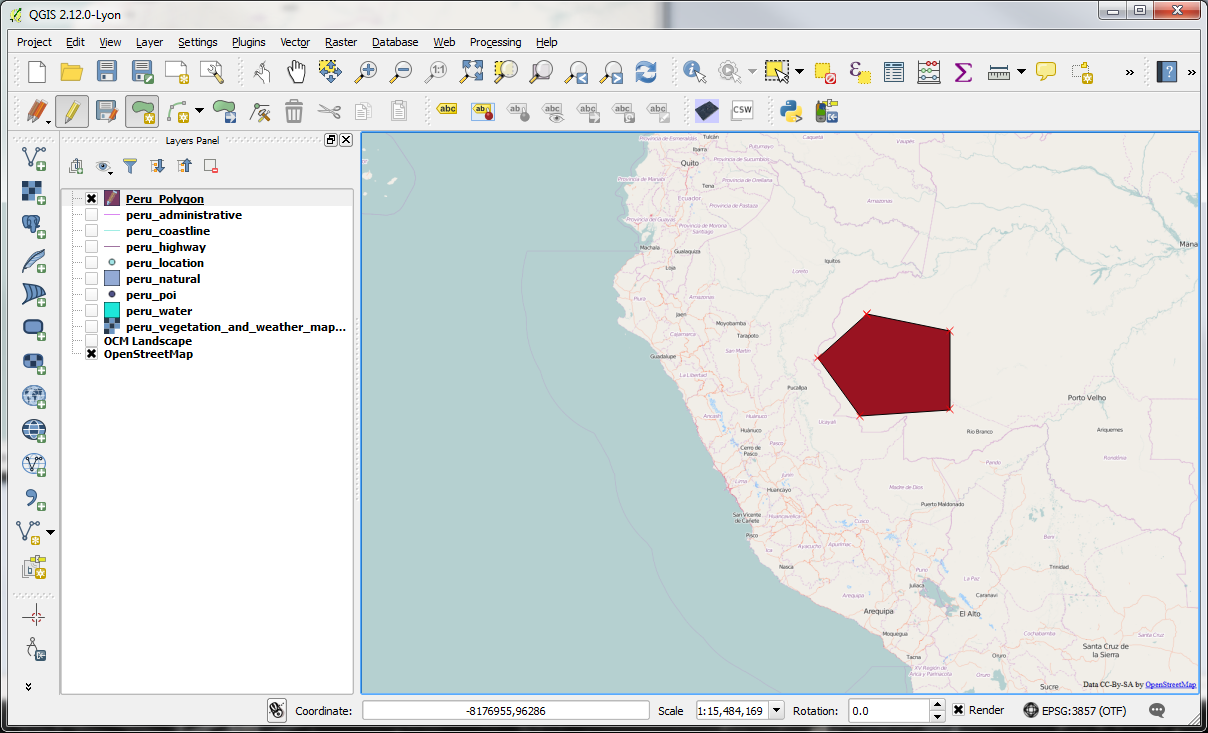
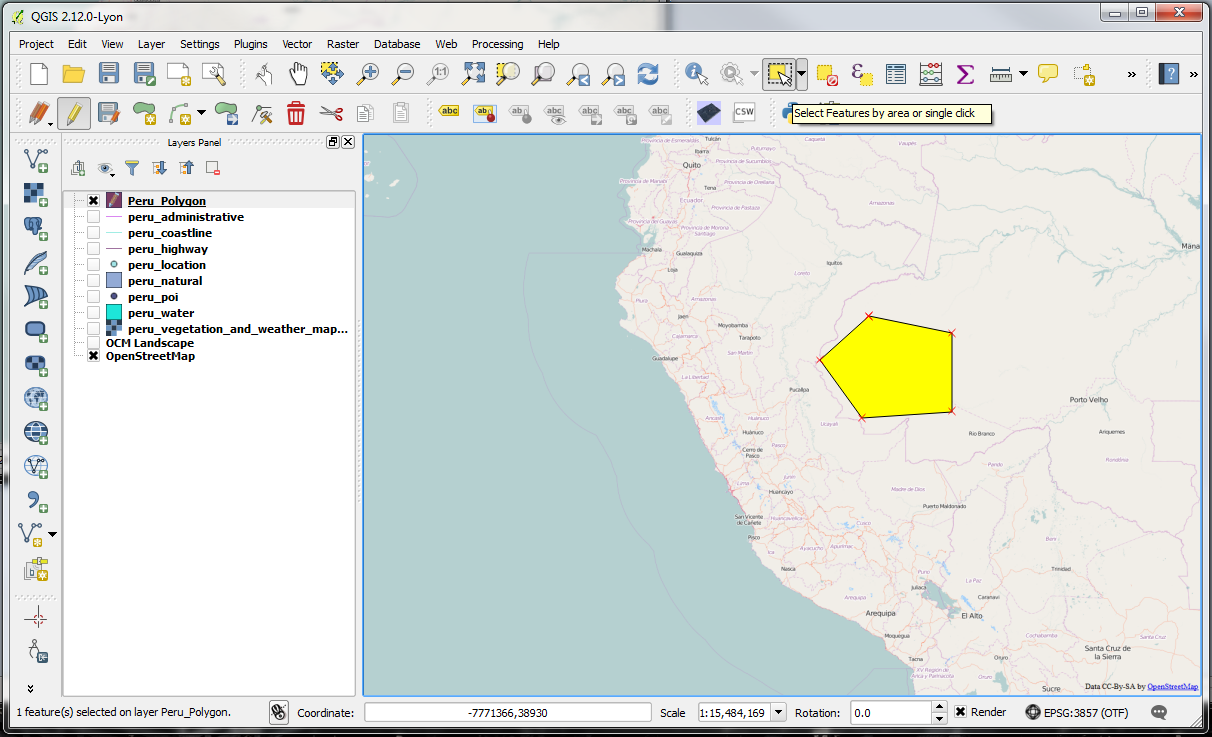
-Select Edit > Add Features to start drawing a polygon. You can do this by left-clicking on the map to add vertices and then right-click to finish the feature. Once you finish the feature, you will be asked to populate the attributes for the feature (id, name [the field we created]); give those values (e.g. 1, My Area) and click OK to save the feature. You’ll now be able to see the created feature on the map.
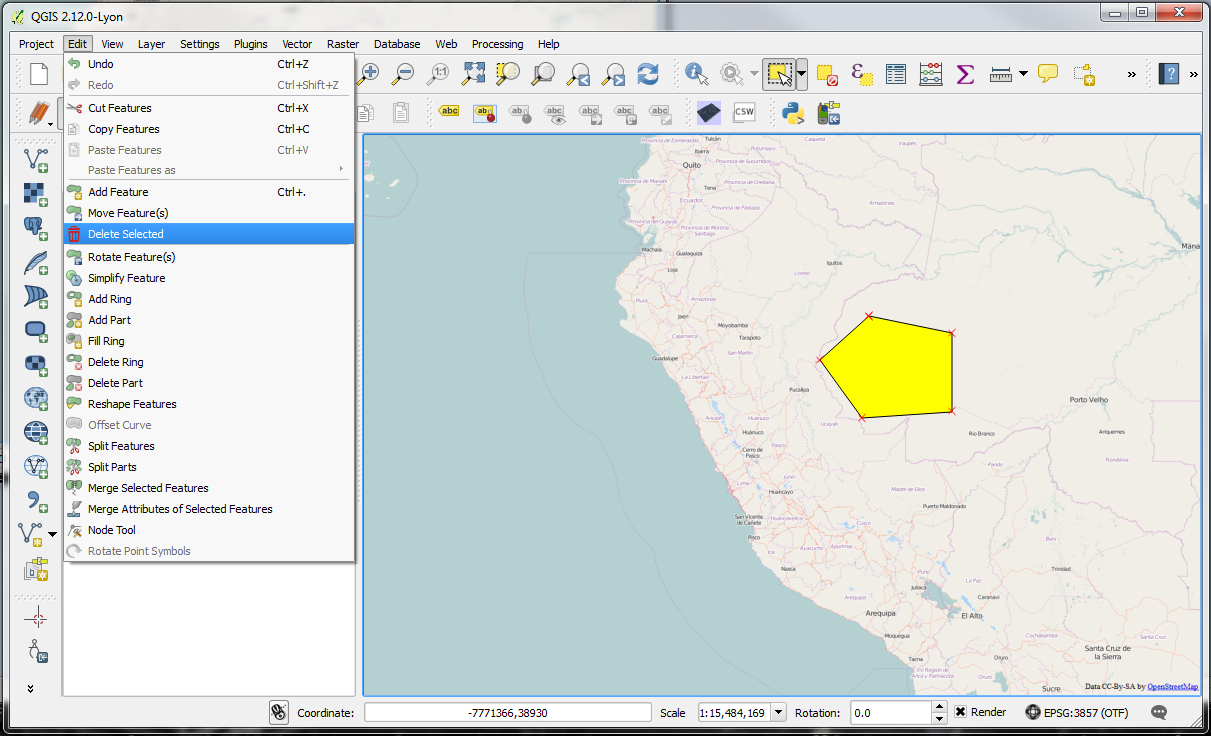
-You can also delete the feature by selecting it with the Select tool and then deleting it from Edit > Delete Selected, however do not delete this feature you’ve just created.
-For adding or deleting new features from a layer, remember to set the layer in Editing mode as described before. With the feature created, Toggle Editing off by right clicking the layer and selecting Toggle Editing to turn edit mode off. You’ll be asked if you wish to save changes to the Peru_Polygon layer (you may either Save or Discard changes); click Save – the feature should now be saved and edit mode should now be off.