Add Vector Layer
-Vector layers represent discrete geographic information via points (a set of coordinates), lines (a series of points), or polygons (a series of connected lines). QGIS supports vector data in a number of vector data formats, such as ESRI shapefiles (shp).
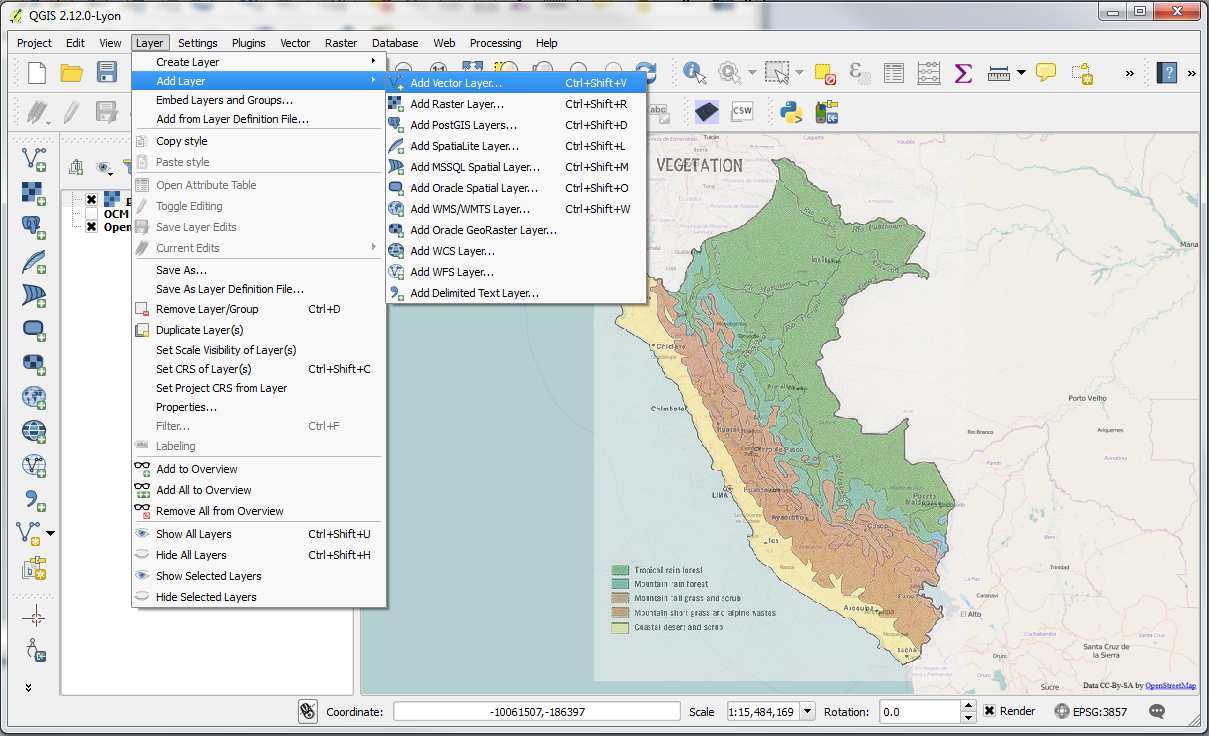
-To load a shapefile, choose the Layer menu > Add Vector Layer.
(Note: You may also be able to add layers from the Add Layer Bar on the left side of the interface by finding the corresponding icon and using that instead)
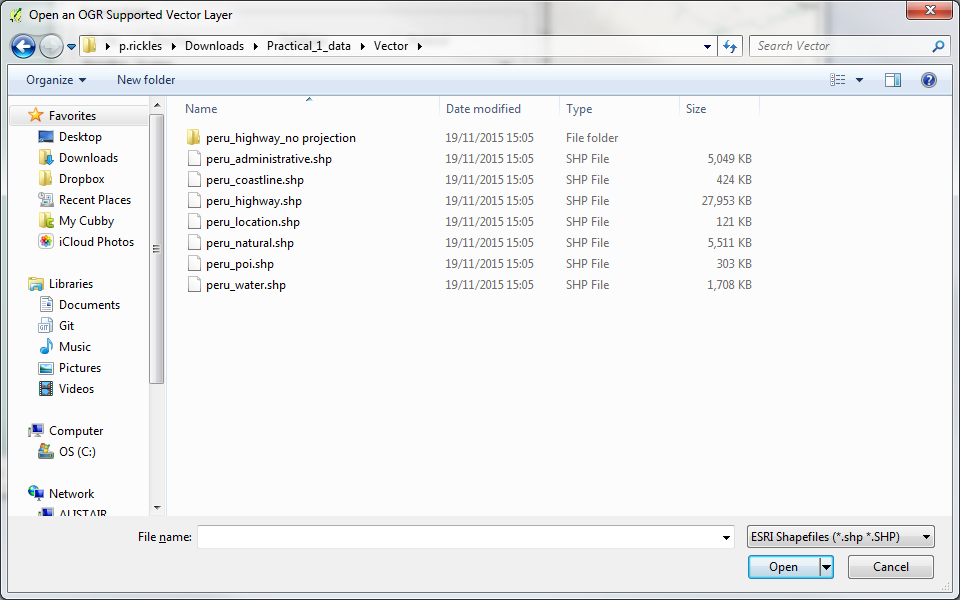
-This will bring up a new window. Click on Browse. That will bring up a standard open file dialog which allows you to navigate the file system and load a shapefile.

-Open the Vector shapefiles that you downloaded at the beginning of the practical (originally downloaded from GEOFABRIK), which will be located in the Vector folder. You may wish to filter on the ESRI Shapefiles file type, which can be down in the bottom right drop down of the window. Select all of the shapefiles in the folder and click Open in the browse window and then Open in the Add vector layer dialog.
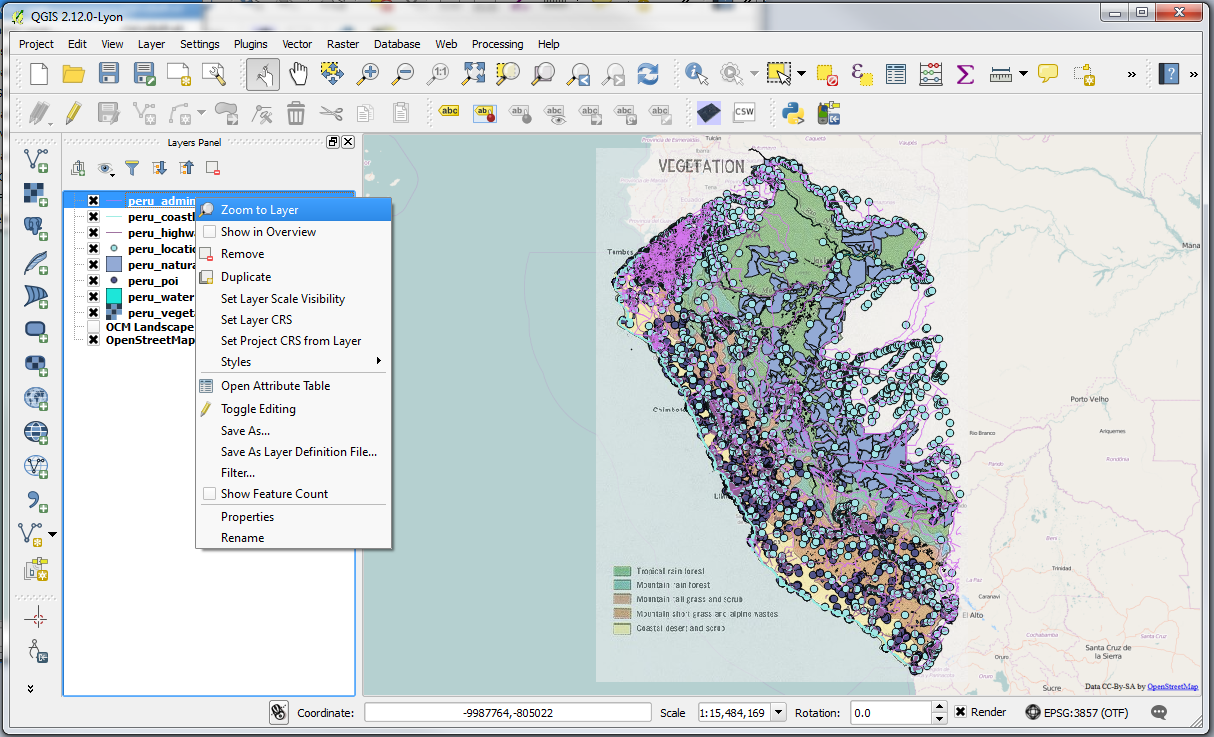
-Once loaded, you can zoom around the shapefile using the map navigation tools.
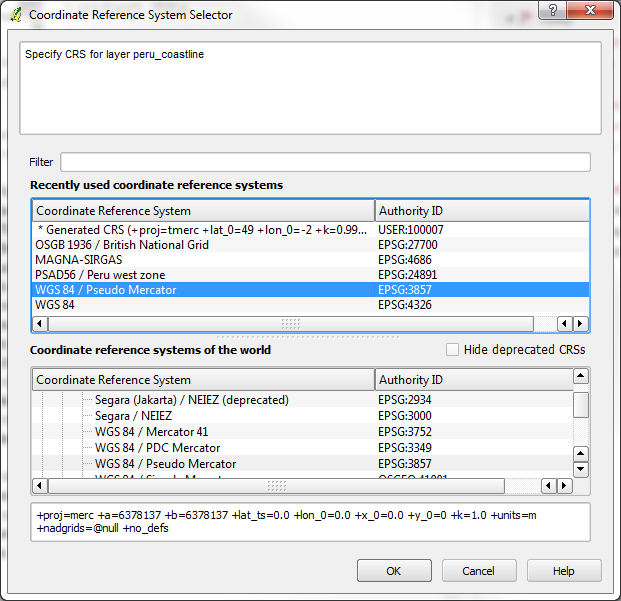
(Note: When you load the file(s) you may be prompted to select a Coordinate Reference System [CRS]. This is so the GIS knows where to locate the data you are trying to load. There are three CRS that you will need to be aware of for your work in Peru: PSAD56 [EPSG: 24891, CRS local to Peru that is often used by government organisations], WGS84 [EPSG: 4326, global CRS used by GPS] and WGS84/Pseudo Mercator [EPSG: 3857, global CRS used by Google Maps, Bing Maps, etc.]. For now, please select WGS84/Pseudo Mercator [EPSG: 3857])