Configuring your Story Map
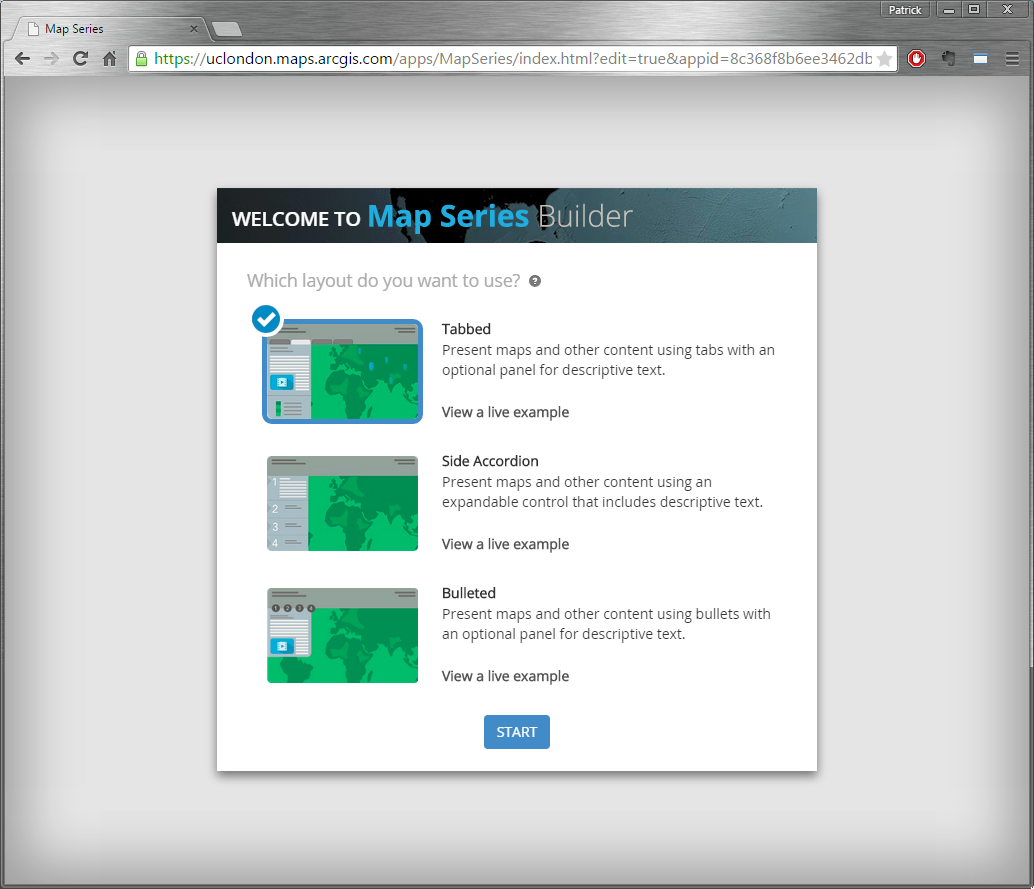
After clicking Done, you will immediately be redirected to Map Series Builder page, where you can choose the layout of the Story Map – either Tabbed, Side Accordion or Bulleted (should you wish to see what those may look like, you can click on View a live example to view an example in a new tab). For this example, select Tabbed (if it’s not already) and click Start.
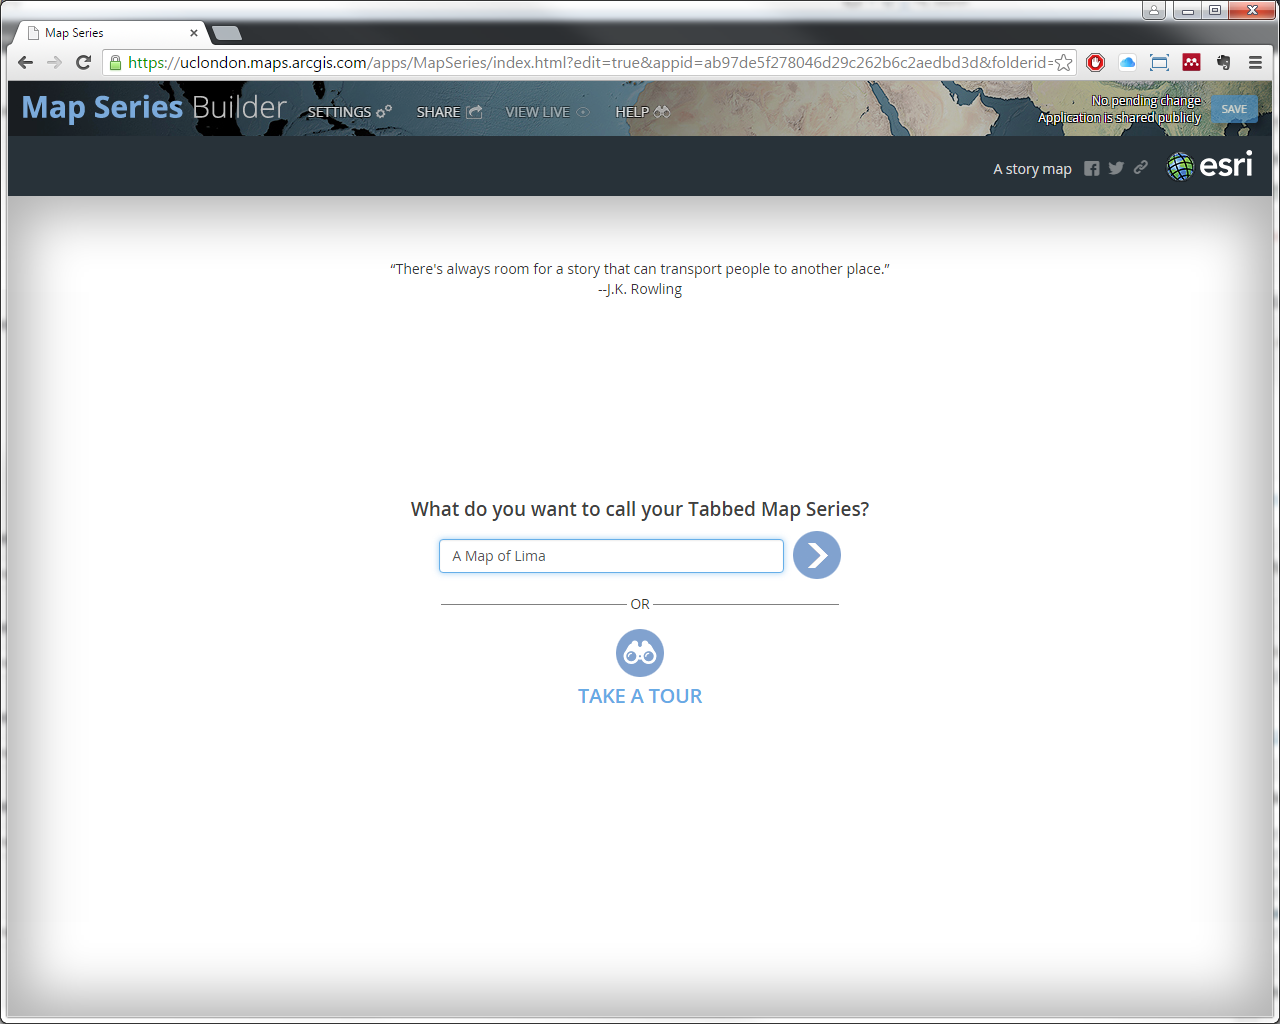
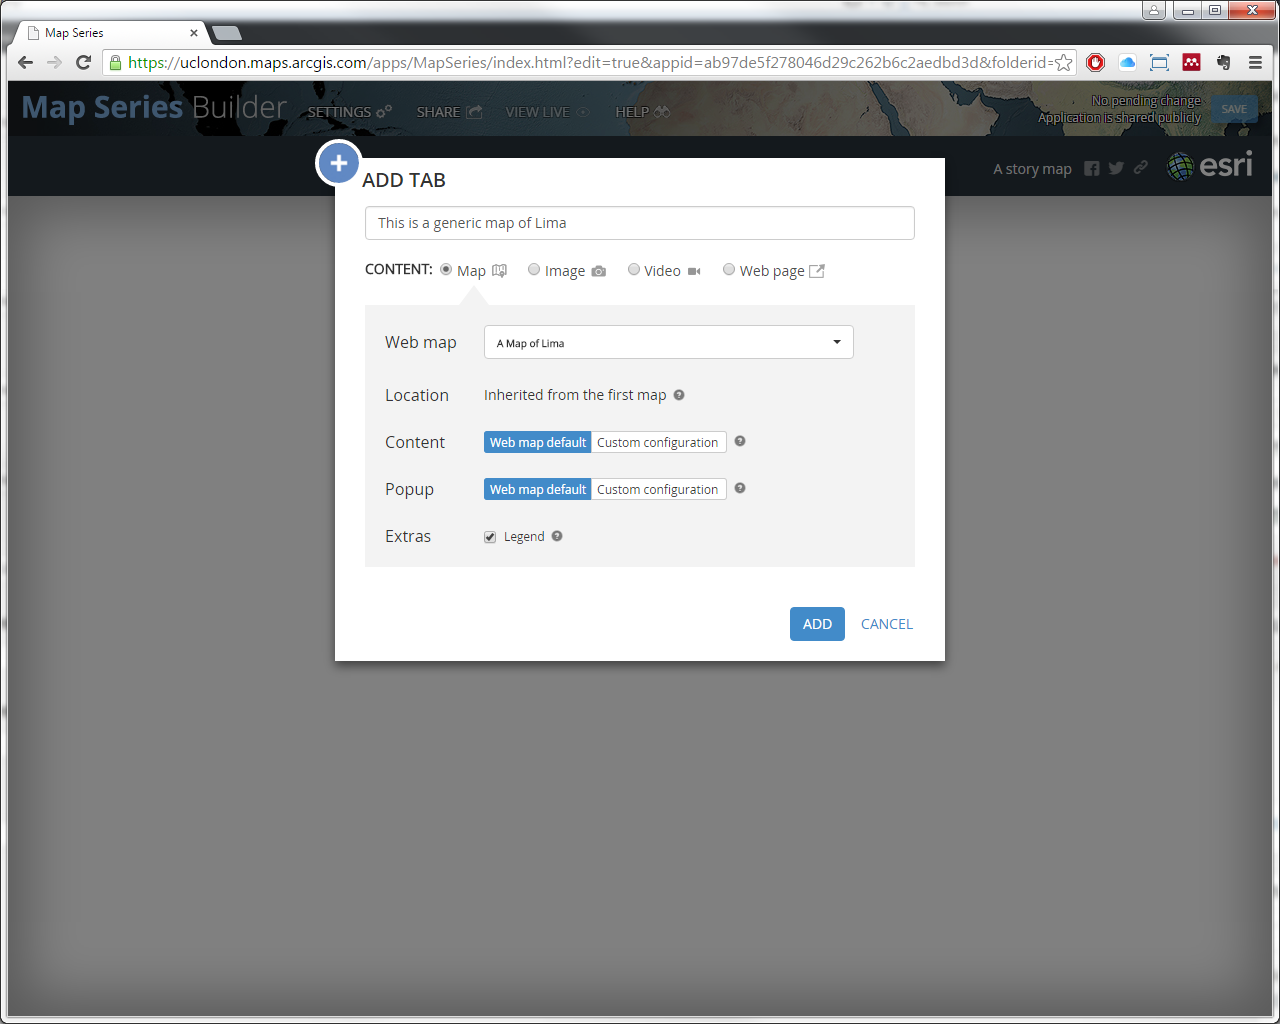
Next you will be asked to give the Tabbed Map Series Story Map a title – in the text field, enter the title “A Map of Lima” and click the arrow button next to the field. Next, you’ll be requested to add a tab in the Add Tab window; for the title of the tab, in the text field, enter “This is a generic map of Lima” and for the content, select Map (if it’s not already) and from the drop down next to Web map, select Browse for Maps. In the Select Web Map window, select the Web Map you created (A Map of Lima); back in the Add Tab, tick the box next to Legend (to show what the features from your various layers look like on the map), accept the other defaults and then click Add – a preliminary Story Map will be created from the given input.
On the left side of the created Story Map, will be an area for a Description, which is a place where we can add extra content to enrich the map. For the text that is entered into this area you may change the font style (bold, italics, or remove any formatting), text colour, font size, add media from various sources, add/remove hyperlinks, add bulleted or numbered lists, or change alignment.
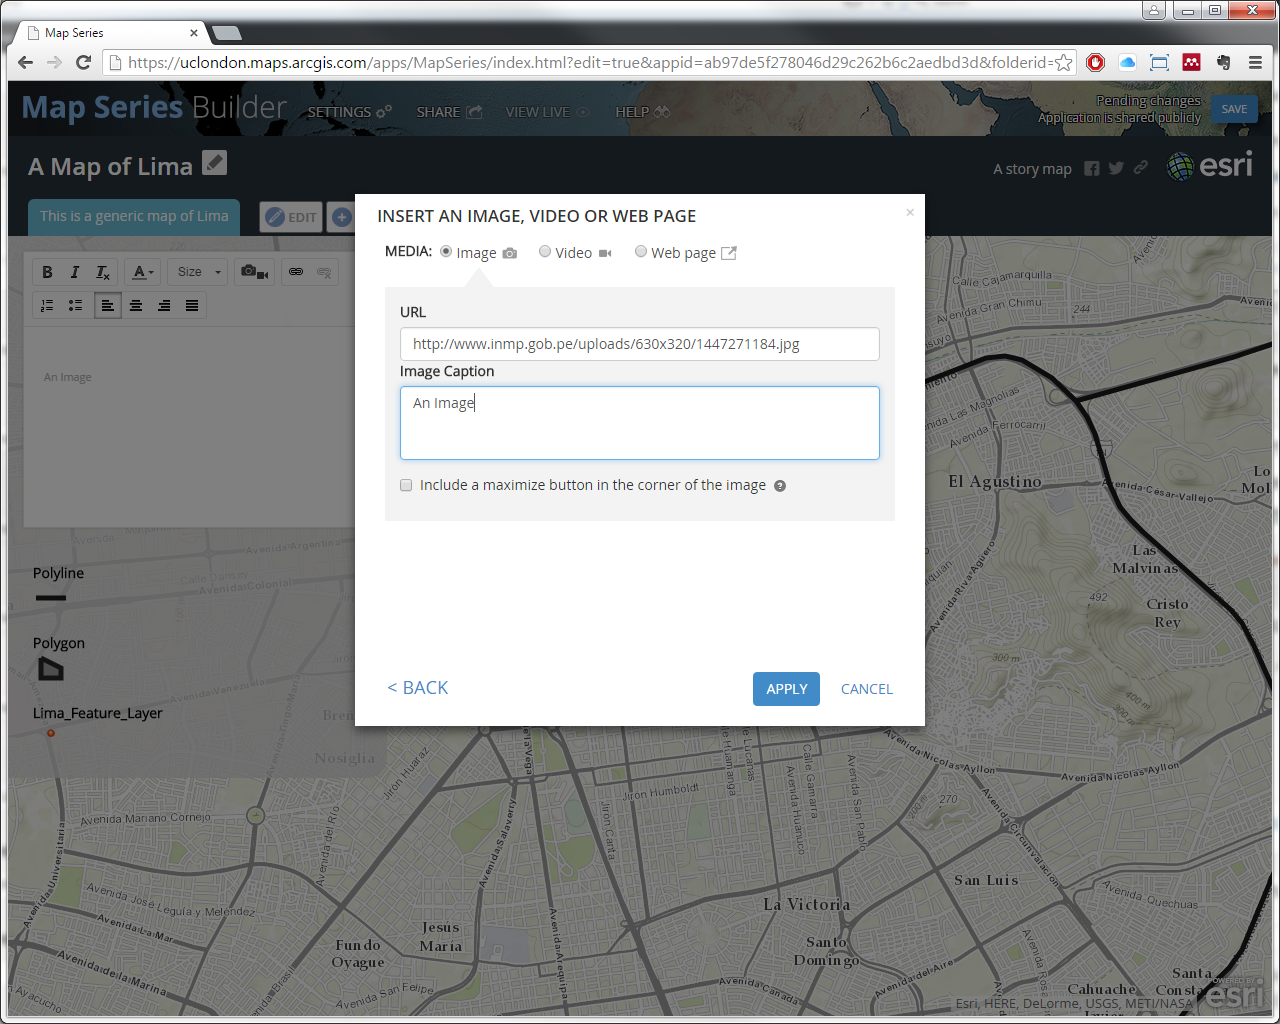
Let’s add an image to the description via a Link (click on the “Insert an image, video or web page” button, under Media select the Image radio button, select the option for Link) using the Image link “http://www.inmp.gob.pe/uploads/630x320/1447271184.jpg” and the Image caption “An Image“; click Apply when done and the image should now appear in the description text area.
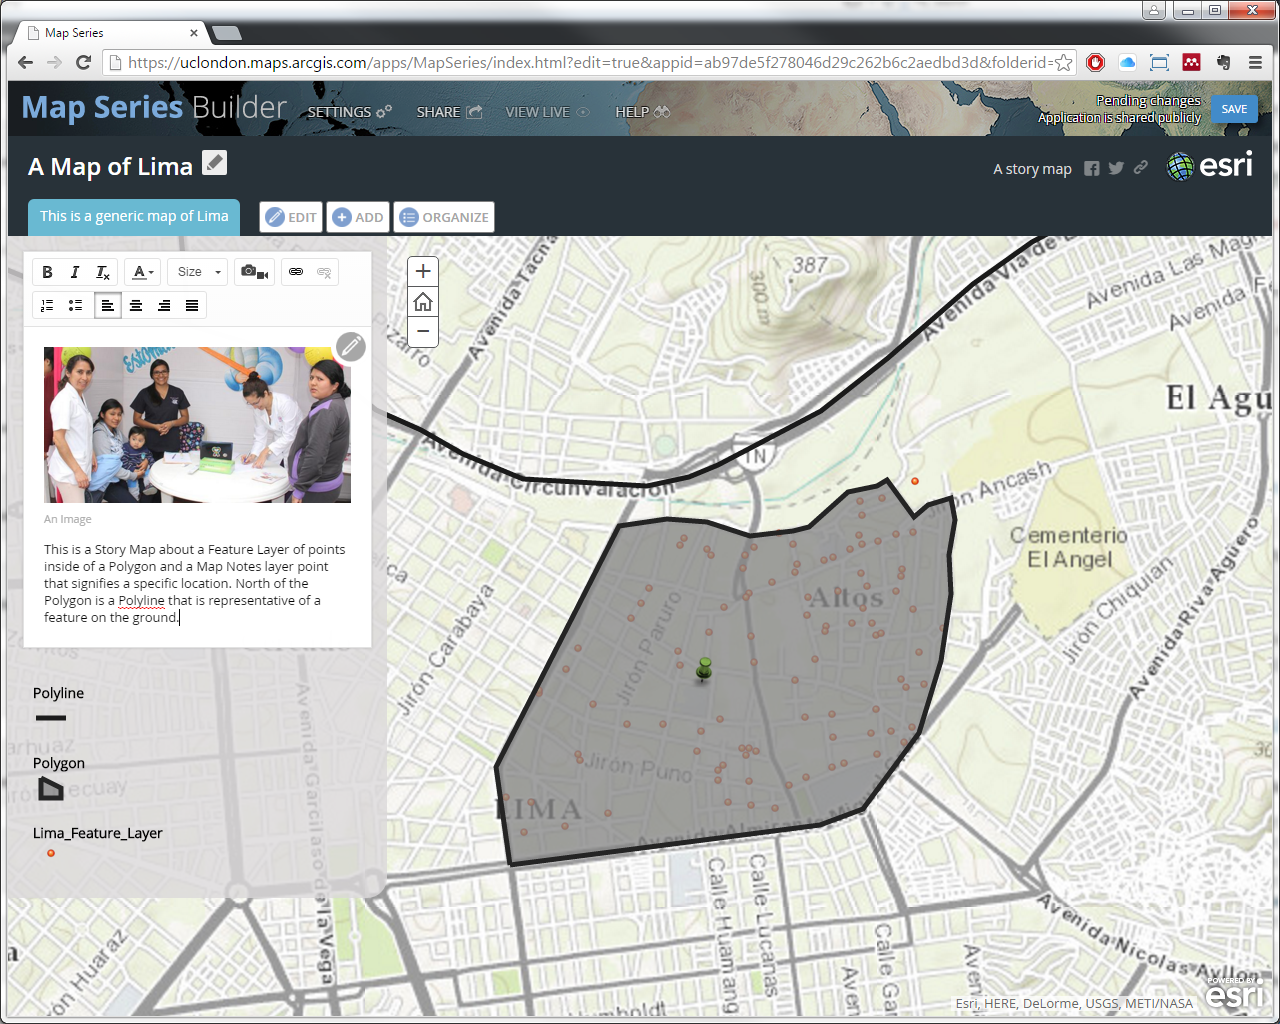
After the picture add the following text:
This is a Story Map about a Feature Layer of points inside of a Polygon and a Map Notes layer point that signifies a specific location. North of the Polygon is a Polyline that is representative of a feature on the ground.
(Feel free to play around with the various options available to alter the text)
The text itself that you put in the Description can be used to highlight the message of the map; when doing so, think about the message and clearly state what you wish the person looking at the Story Map to understand from the information provided.
With all the necessary information added, click Save in the top right corner of the page and your Story Map will be saved.