Add a Map Note
Once you’ve added the Map Notes layer, it will immediately change the panel to the left of the map to allow you to Add Features to the map (which can also be done by clicking the Edit in the map menu options). Let’s add a feature to mark the South Highland Park Communication Hub gathering point, which is located at 9050 16th Ave SW, Seattle, Washington, USA, by typing in the address 9050 16th Ave SW, Seattle, Washington, USA in the Search text field and clicking the magnifying class to search for the address. This will zoom you into the address for the South Highland Park Communication Hub gathering point; you may note that some of the layers you added may or may not be visible in this new area of the map, which may be because they are either not present in this area or they only show between certain zoom levels. You may check this by clicking the Zoom Out (-) button in the top left corner of the map to zoom out a few levels, at which point you may see some of the layers become visible or invisible. Click the Zoom In (+) button in the top left corner of the map to zoom back in to the previous zoom level. To better see where you are to place the Map Note Point, you may need to turn layer(s) off in order to better see the area, which can be done by going to the Details panel, unticking the box next to the layer, and then clicking the Edit option from the menu again to bring back up the panel to add points ot the Map Notes layer.
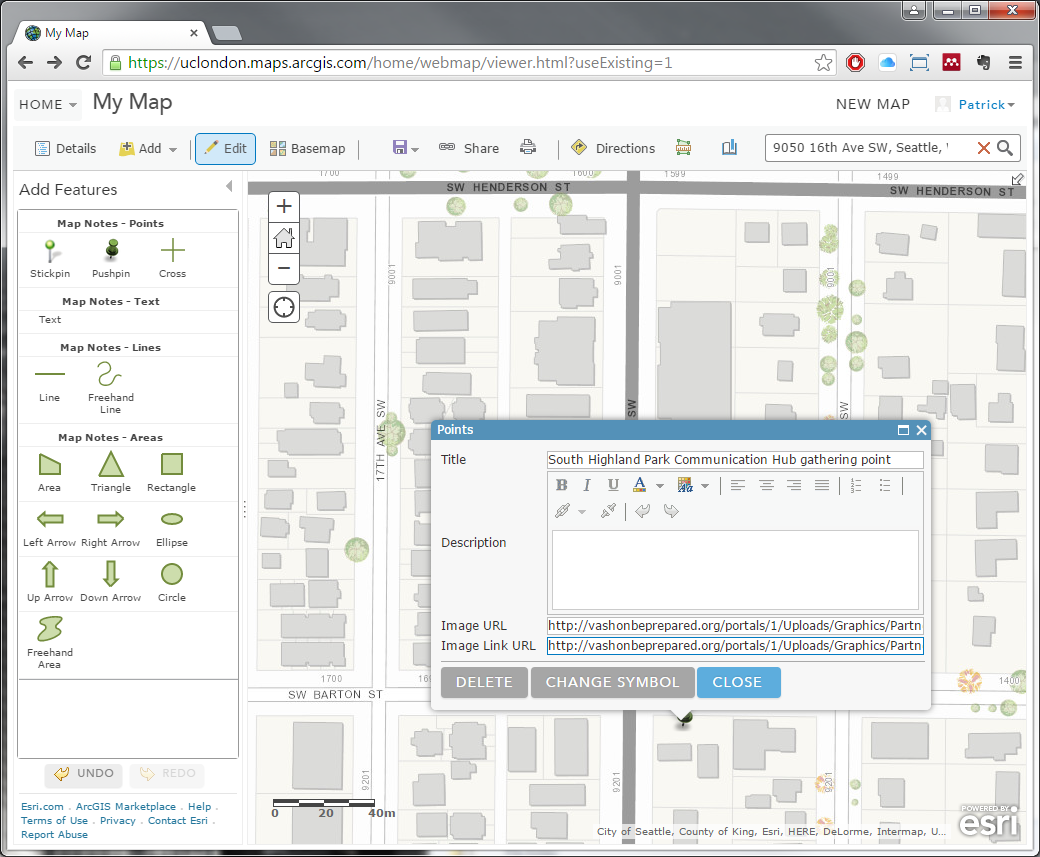
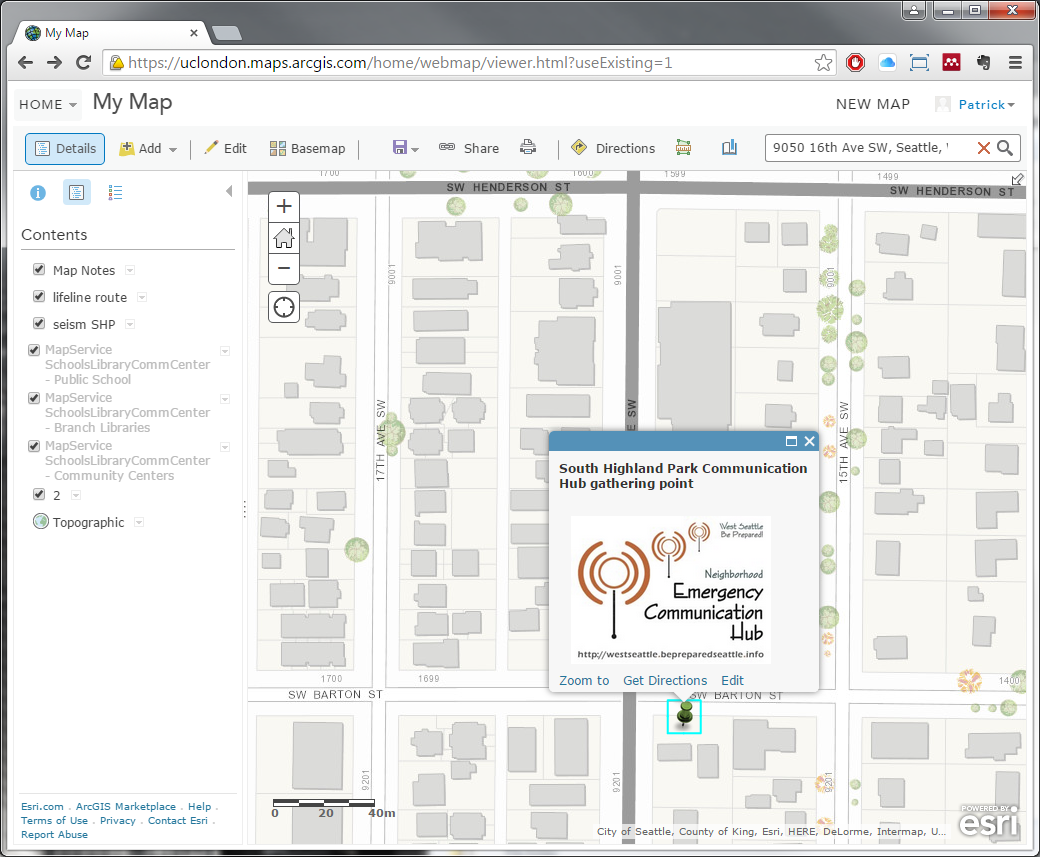
Now that we know where the South Highland Park Communication Hub gathering point is to be located, click the X in the address’s pop up window to close it, select the Pushpin Map Notes – Points option and click the location where the South Highland Park Communication Hub gathering point was located to add it to the map. Once you’ve added it the map, change the Title to the South Highland Park Communication Hub gathering point, the Description to 9050 16th Ave SW, Seattle, Washington, USA, the Image URL to http://vashonbeprepared.org/portals/1/Uploads/Graphics/Partners/hub-sign.jpg, and the Image Link URL to the same, then click Close to save the Map Note point. Afterwards, click Edit to toggle edit mode off and click on the point to view the newly created information; you may close the point’s information pop up window by clicking the X in its top right corner.
excellent. are there any more of these tutorials, let me know please. thanks
Glad you enjoyed! If you’d like any more lessons or perhaps the same lessons in a different context, click the link at the top of the page for “Request a New Context”, fill out the form and submit it (I’ll get an email of it); otherwise, click the link to “Leave Feedback” to leave me general feed back (which again is a form that will get emailed to me).