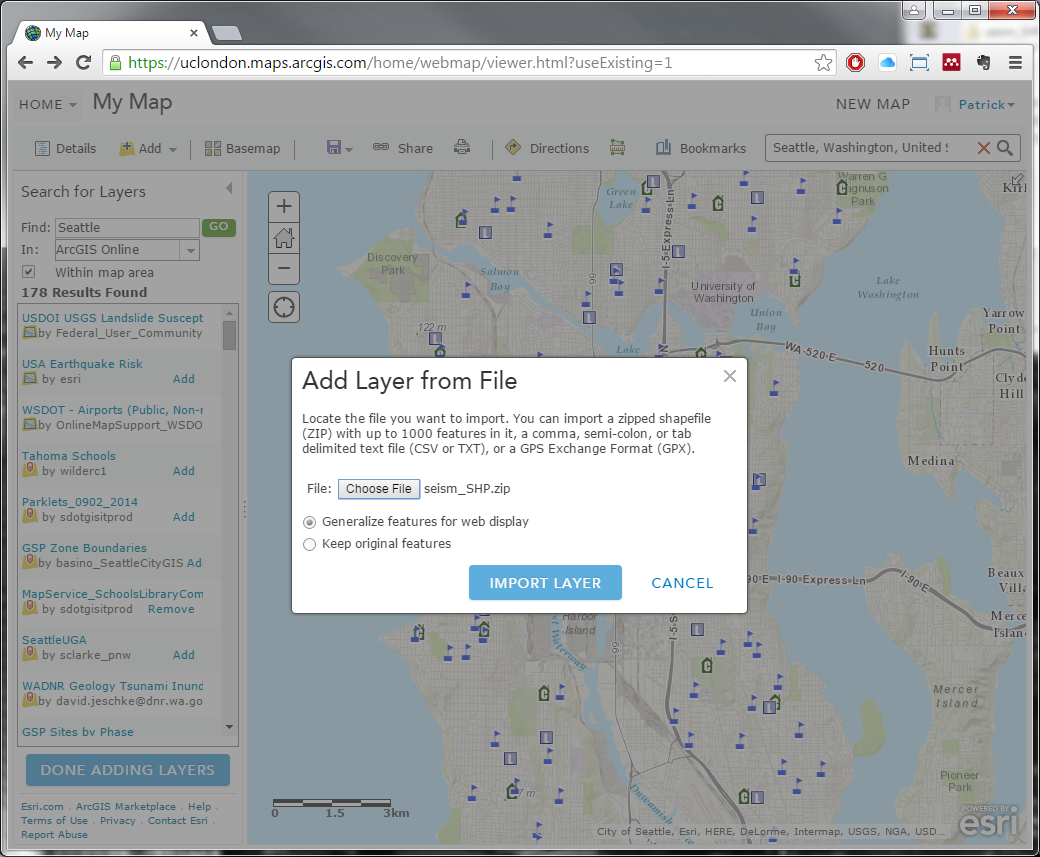
Add Layer from File
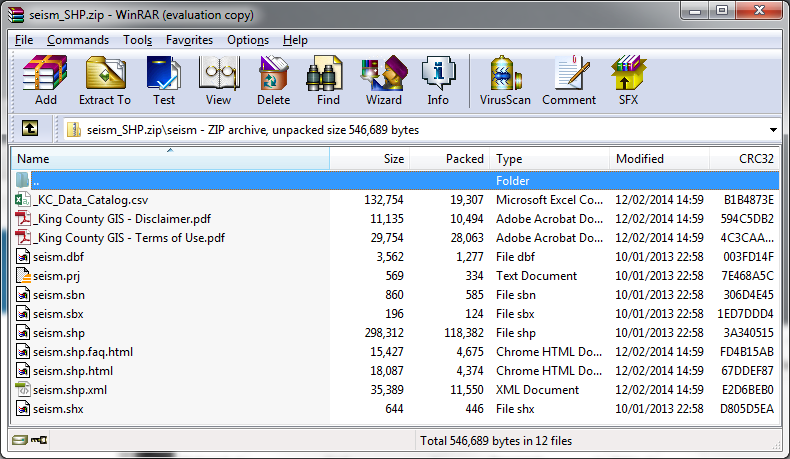
Next, we’ll add two precompiled layers, seismic hazard areas (seism – [click to download]) and emergency lifeline routes (lifeline_route – [click to download]), which are provided as compressed, or zipped, files (.zip). Uncompress them, take a look at the files in the uncompressed directory and you’ll note at least the following:
-shapefile (.shp – stores the geometry information)
-database file (.dbf – attribute table information
-projection file (.prj – projection information)
-shape index file (.shx – indexed geometry information)
There may be some other types that may be included, but these four are the least necessary amount of information for the GIS to properly read the shapefile. Once you have reviewed them, if multiple shapefiles were included in the original zipped download (or the download was a compressed format that is not a zip file), compress the necessary files for each shapefile in a zip file format, using whatever package you wish, as this will be necessary for upload. Back in ArcGIS Online, in your web browser, click on the Add map menu option, select Add Layer from File, click the Choose file button, browse to and select the seismic hazard areas file, keep the radio button selected for the option to Generalize features for web display (this simplifies complicated features for the web so they may load faster, but slightly degrades their accuracy) and click Import Layer. Repeat the same for the emergency lifeline routes file.
excellent. are there any more of these tutorials, let me know please. thanks
Glad you enjoyed! If you’d like any more lessons or perhaps the same lessons in a different context, click the link at the top of the page for “Request a New Context”, fill out the form and submit it (I’ll get an email of it); otherwise, click the link to “Leave Feedback” to leave me general feed back (which again is a form that will get emailed to me).